Bathroom Exhaust Line Tear

House Repair Talk

Help Support House Repair Talk:

This site may earn a commission from merchant affiliate links, including eBay, Amazon, and others.
Guys,

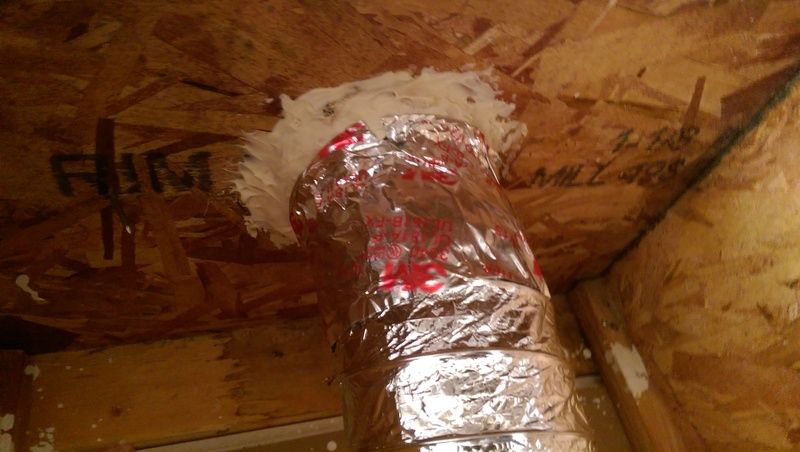
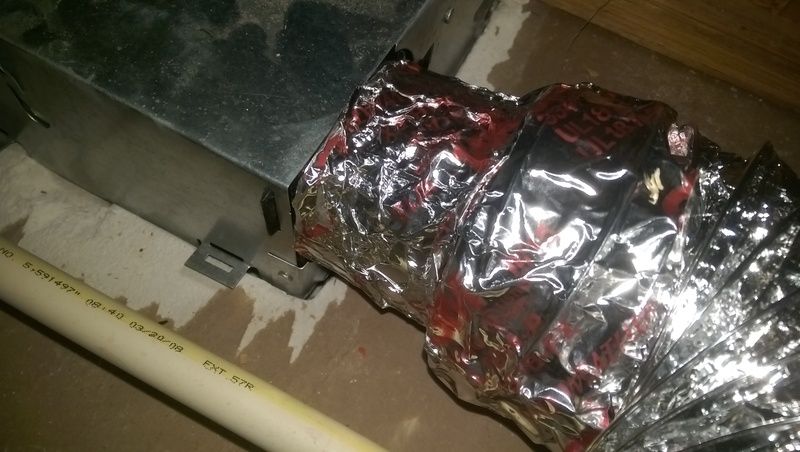
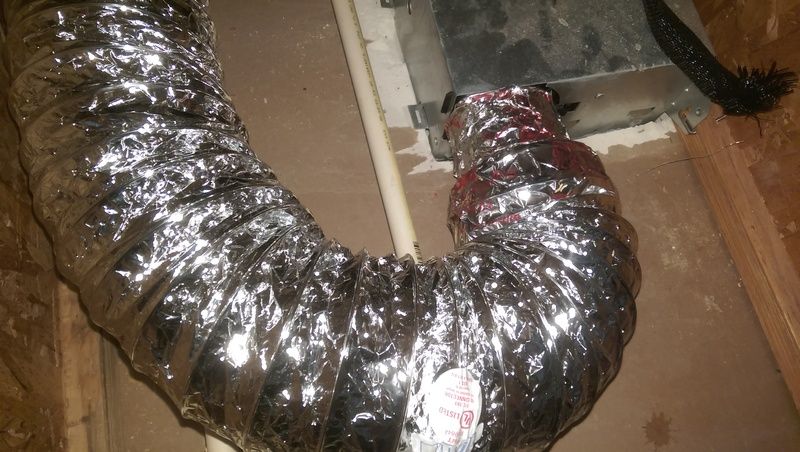
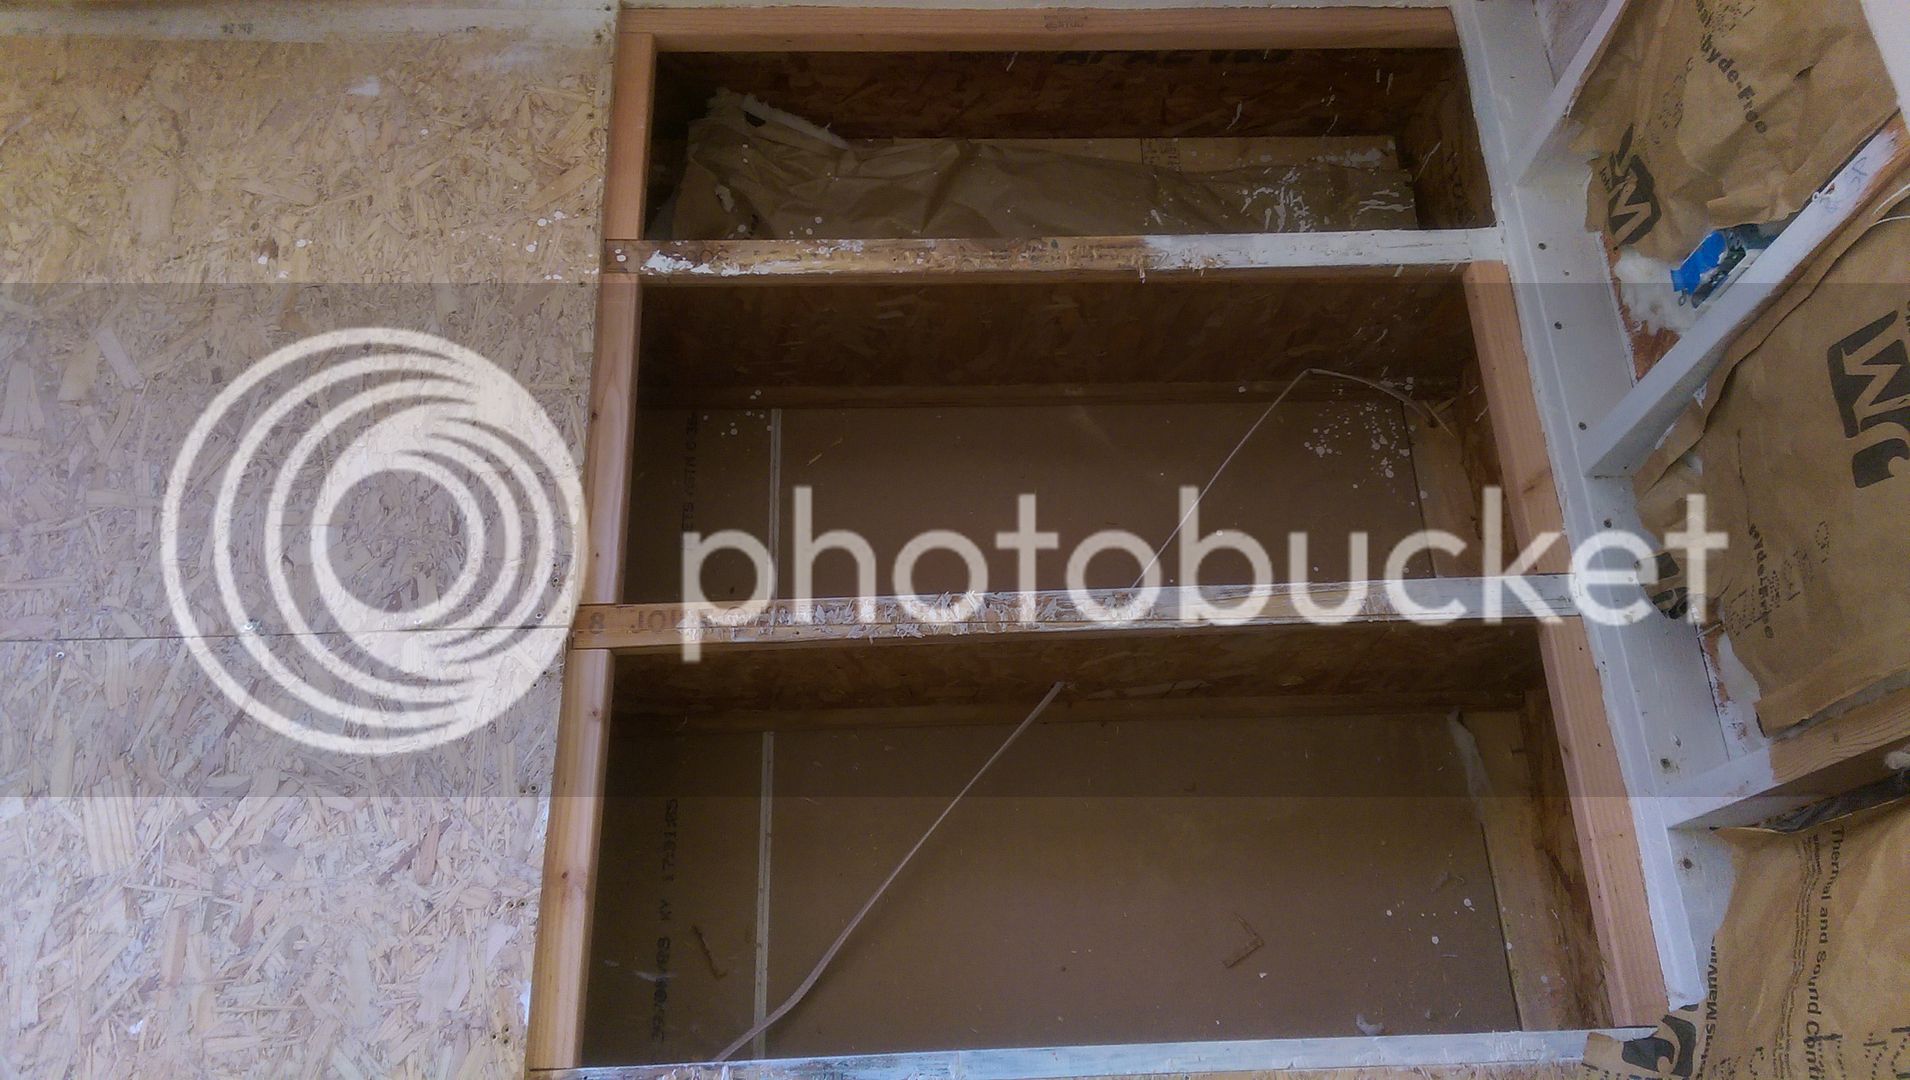
Ultimately I went with flexible foil. I know it's not the best option but it avoids the mildew issues I experienced with the plastic. Right now I have no hangers installed and there is a small sag. I sealed off the joints with heavy duty duct tape. No steel wool has been installed around where the duct exits yet but that will be the next step.
 
No steel wool


Steel Wool


Steel Wool w/ caulk


Connection to fan with 3'' to 4'' adapter and duct tape


Figured subfloor is a no traffic area so aluminum wouldn't be much of a liability
 
Thanks for the subtle suggestion. I never knew 'duct' tape isn't recommended for ducts. I wish I had known sooner. 😞
 
Updates: switched out duct tape for foil tape

IMAG1851.jpg


IMAG1854.jpg


IMAG1856.jpg
 
I haven't updated in a while but I thought I'd mention that I am going to go with 2x4 and 2x6 blocking along the walls. The boxes seem like overkill.

EDIT: Part of the reason I hadn't finished yet is I am trying to see if the mildew smell will subside first but it seems pretty stubborn.
 
Looking back at your first set of pics, the brick wall where the vent exits, are there any voids in the mortar above or around the exhaust vent?
 
It appears to be no voids in the mortar around the exhaust vent from an outside view. Inside I can't see anymore since it is stuffed with steel wool and caulked.

Yes, the duct may not have been the source but mildew was definitely growing on the duct and the duct had a big hole in it. So the duct had to go anyway you look at it.

Now you guys got me thinking though. Seems like there would be two key areas to examine - right where the hole was in the vent and where the bathroom fan connects to it.
 
The wall pic showed what looked like voids higher on the wall, could be shadows. Voids will allow water to enter.
 
Haven't had the chance to figure out the mildew smell still but I am blocking up the other corner I removed to replace the subfloor. I plan to cut some insulation afterward, apply subfloor caulk for squeaks and secure down subfloor with screws.
 
And pics...the remaining corner has a screw protruding below it which I will have to cut or break off before I can install the last block.

IMAG2015.jpg


IMAG2016.jpg


IMAG2017.jpg


IMAG2018.jpg
 
Your blocking looks mor perfect than needed, actually it looks great. You are just trying to replicate the strength of the T&G so that any flexing in one peice will tranfer to the other sheet so shorter blocks screwed to both sheets will do the job. I'm not knocking your job, it looks great.
 
No matter which ducting material you use, you will have condensation, because you are exhausting moisture laden air, and the way to mitigate that, is to continue the vent operation until the air in the bathroom balances with that of the dwelling.

The volumetric inefficiency of the wire reinforces flexible venting material, while easier to install, inherently lends itself to condensation.

In over 35yrs. of practice, I've never used flexible ducting in the wall, under the floor or in the attic.

And a point of clarification, there are different grades of duct tape. I use that which has the greatest thread count and have returned after 25yrs. for another kitchen remodel and had to cut the tape to remove it.

Quality begets quality.
 
What type of rigid ducting do you primarily use Snoonyb? Metal or PVC?

I have attached a picture of a dry fitting for the subfloor. My concern now has been whether or not expansion and contraction will become an issue if I don't have enough space between the pieces.

The small strip is because of a mistake I made in measuring. I ended up replacing the 2x4 blocking in that area with 2x6 so I could attach both pieces tothe existing subfloor.

IMAG2026.jpg
 
Last edited:
What type of rigid ducting do you primarily use Snoonyb? Metal or PVC?

I have attached a picture of a dry fitting for the subfloor. My concern now has been whether or not expansion and contraction will become an issue if I don't have enough space between the pieces.

The small strip is because of a mistake I made in measuring. I ended up replacing the 2x4 blocking in that area with 2x6 so I could attach both pieces tothe existing subfloor.

I use metal, including any special fittings which need to be fabricated.

Since your flooring material is T&G, there should not be any gaps because of the composition of the material, which does not lend itself to expansion or contraction.

The only thing I would add to the blocking you have accomplished, is to pilot a screw in the edge of the 2x blocking too preclude any potential twisting, block to block or block to joist.
 
Pilot a screw in the edge?

The edge of the 2x blocking is 1-1/2" and when you drive a #9x4" screw to attach the end to the TJI or another block, depending upon the species of lumber the blocking is, it can split.

Thats why I use a pilot bit and pre-pilot.
 
Back
Top