General overhaul...ongoing(pix!!!)

House Repair Talk

Help Support House Repair Talk:

This site may earn a commission from merchant affiliate links, including eBay, Amazon, and others.
Well I appologise that I havnt kept you all updated. Been to busy with the reno to get online.

The last pics you guy saw was of the header on the wall with the window in the dining room. Since then we have gotten the following done:

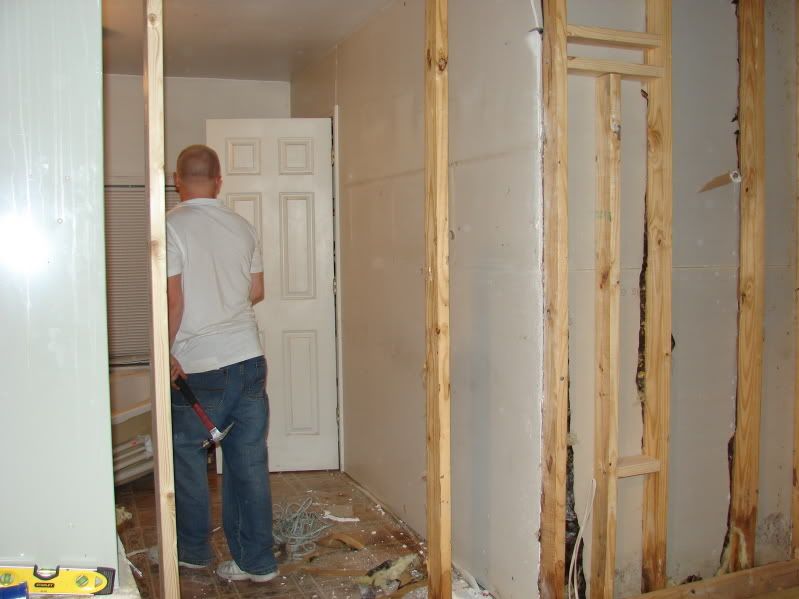
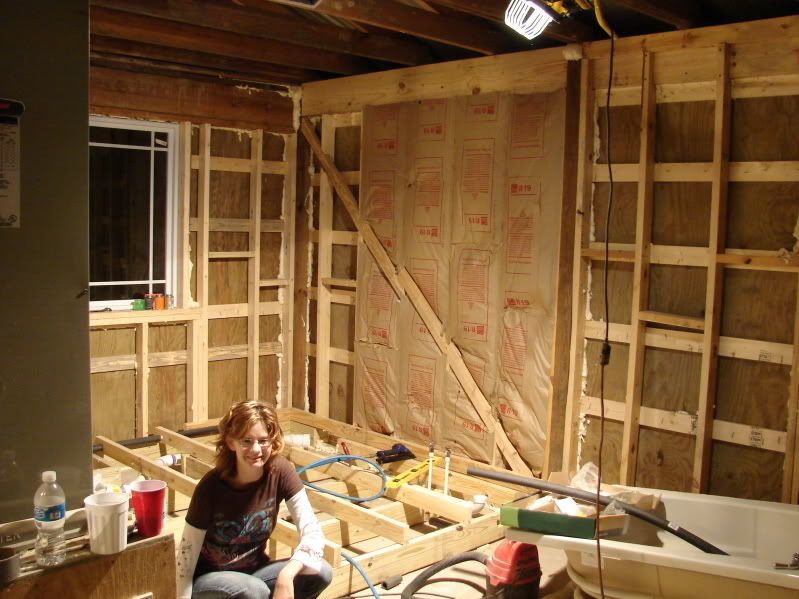
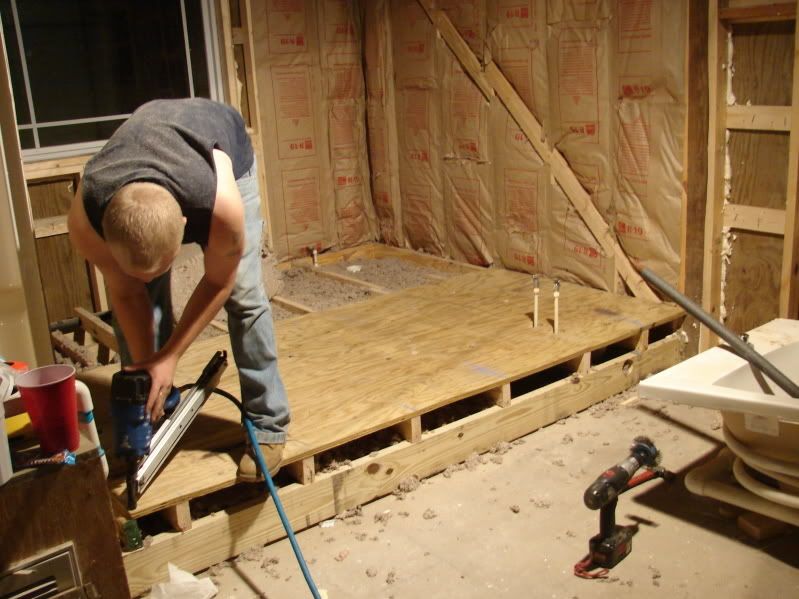
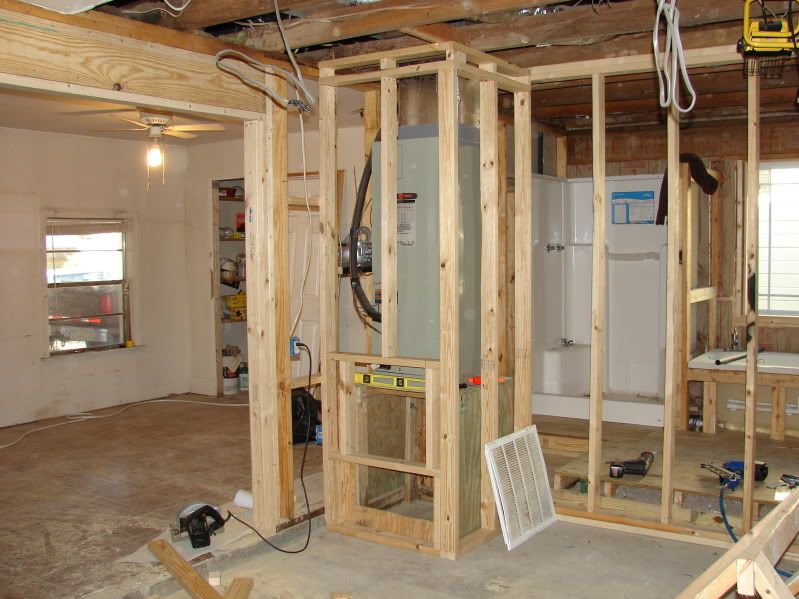
*Ripped out the subfloor in the bath

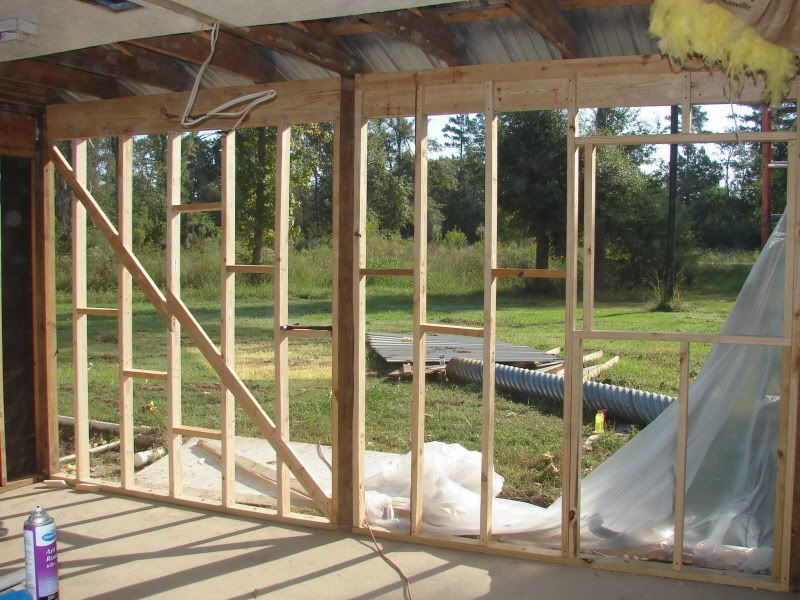
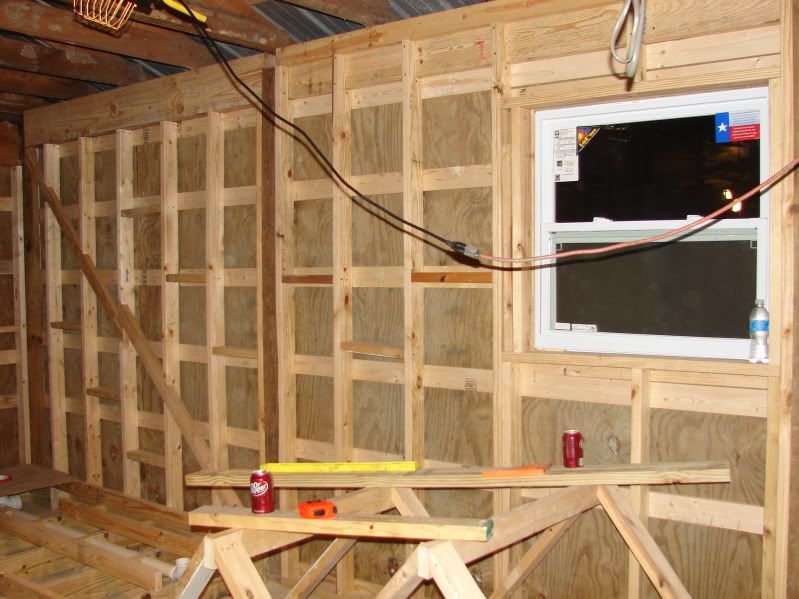
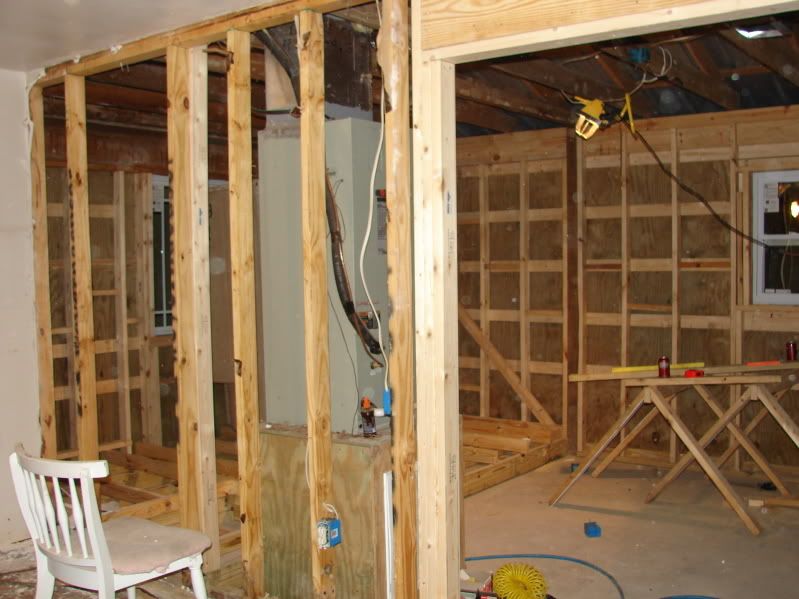
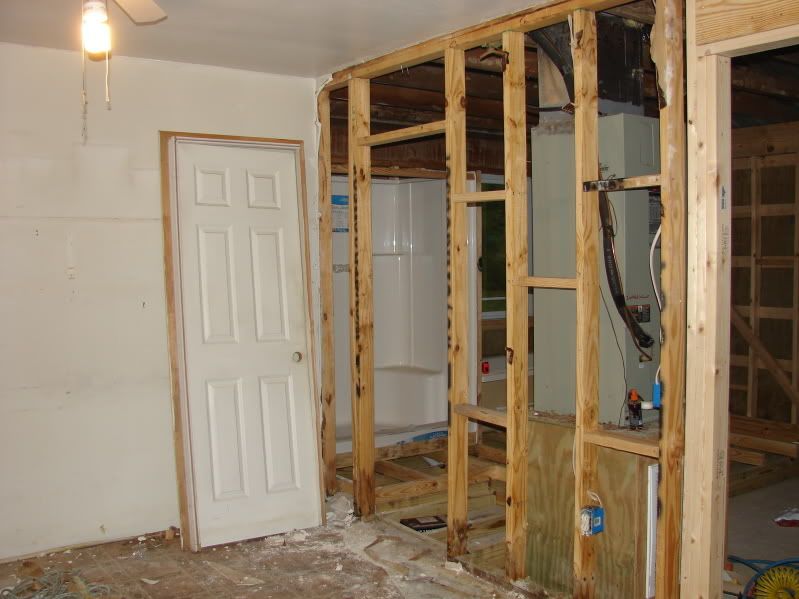
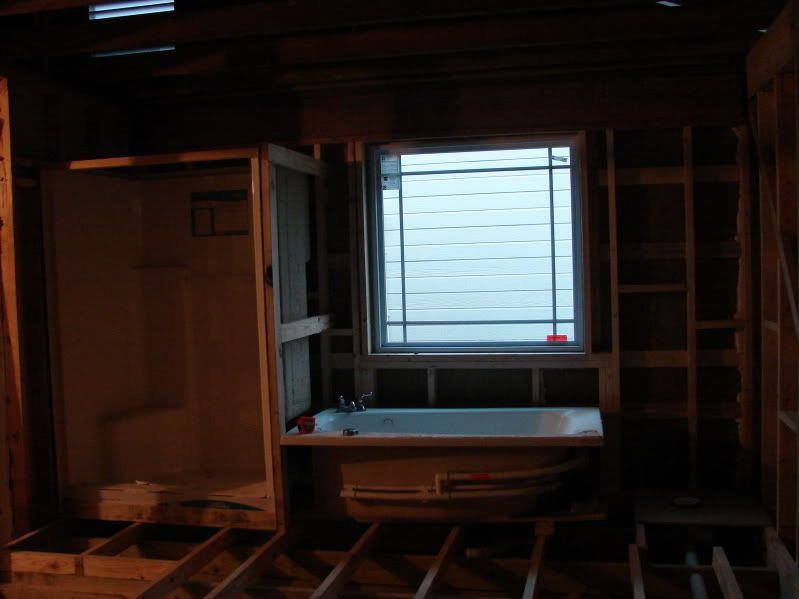
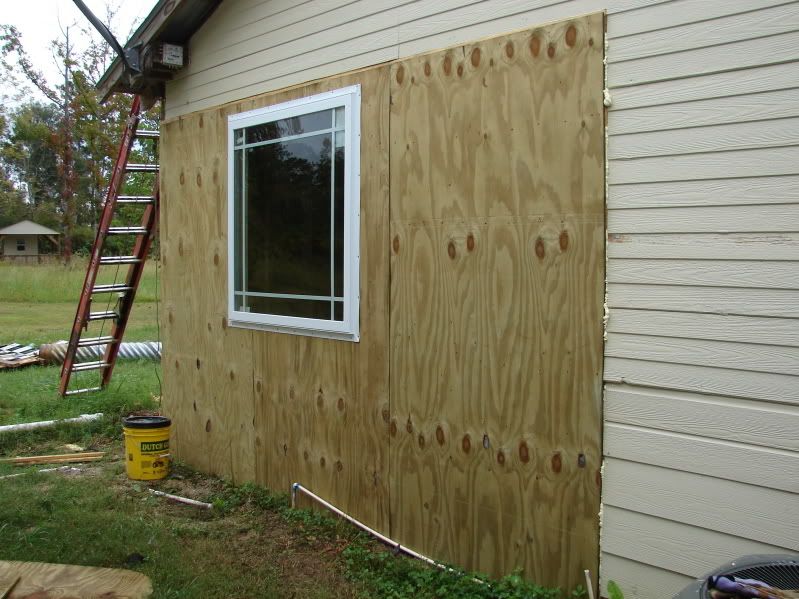
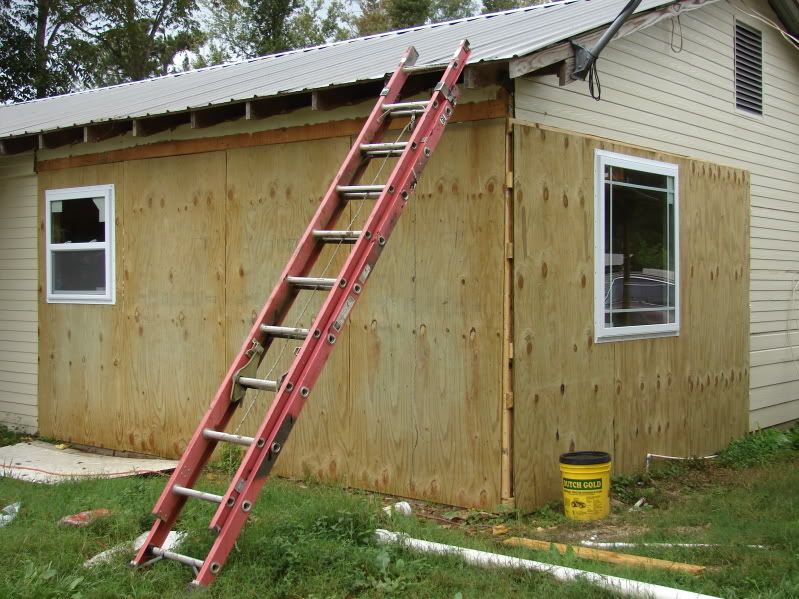
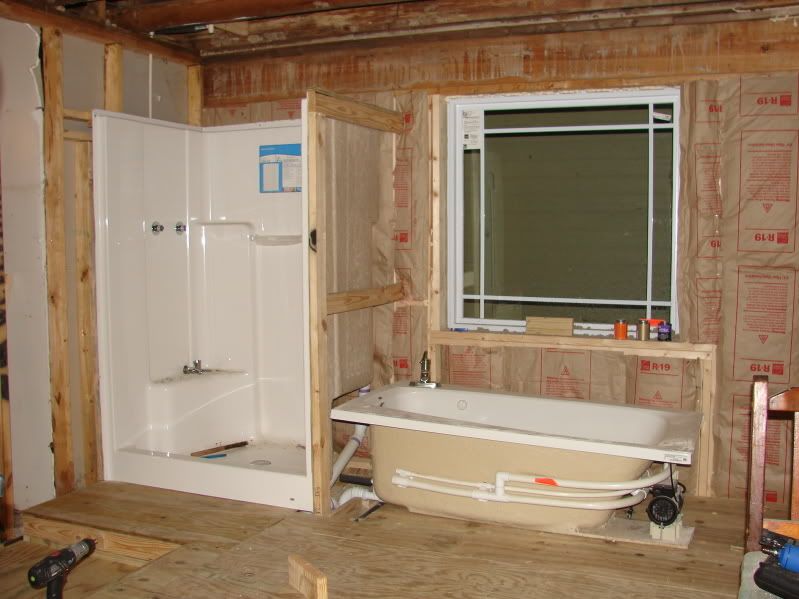
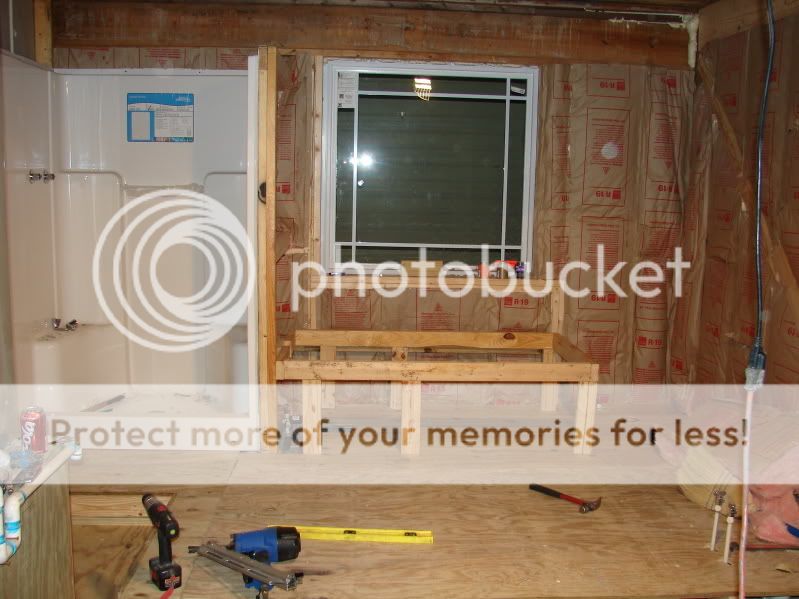
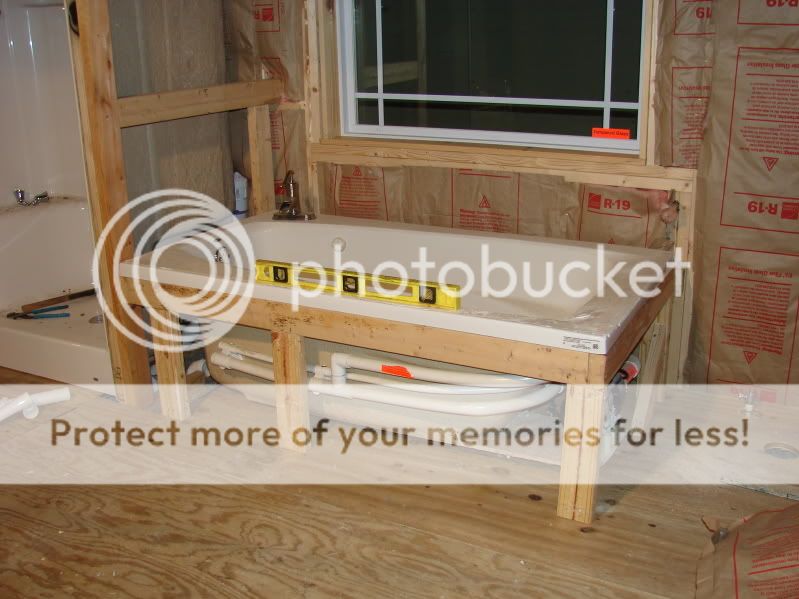
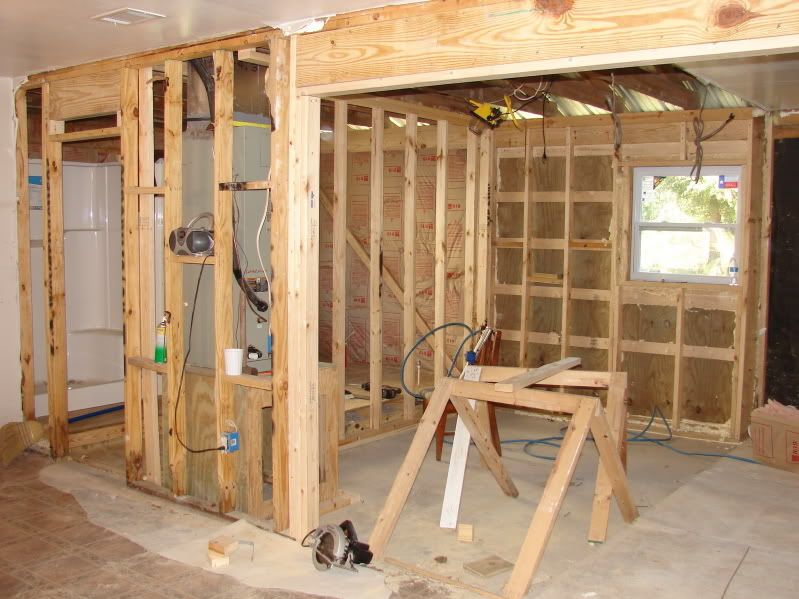
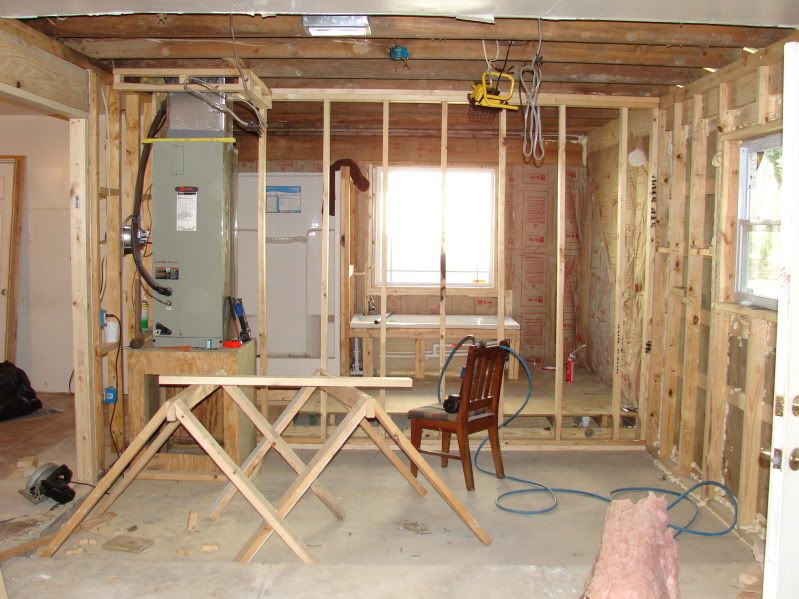
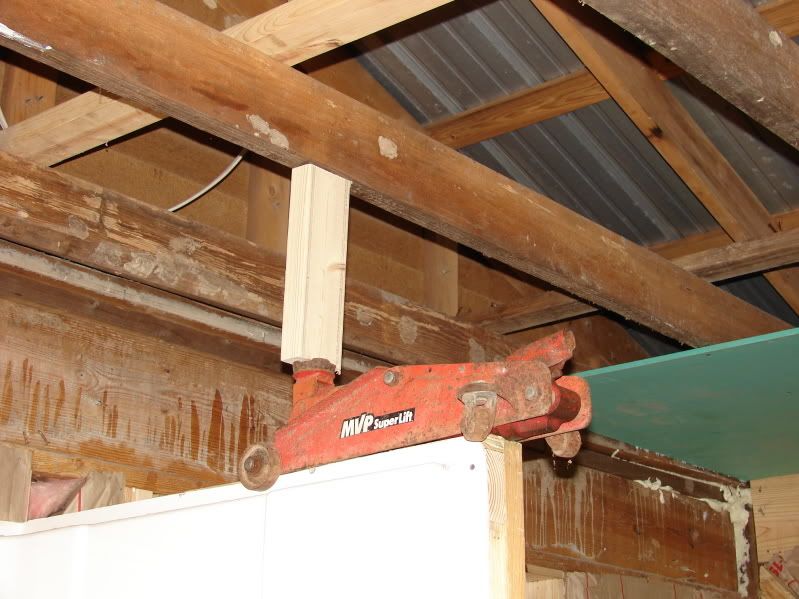
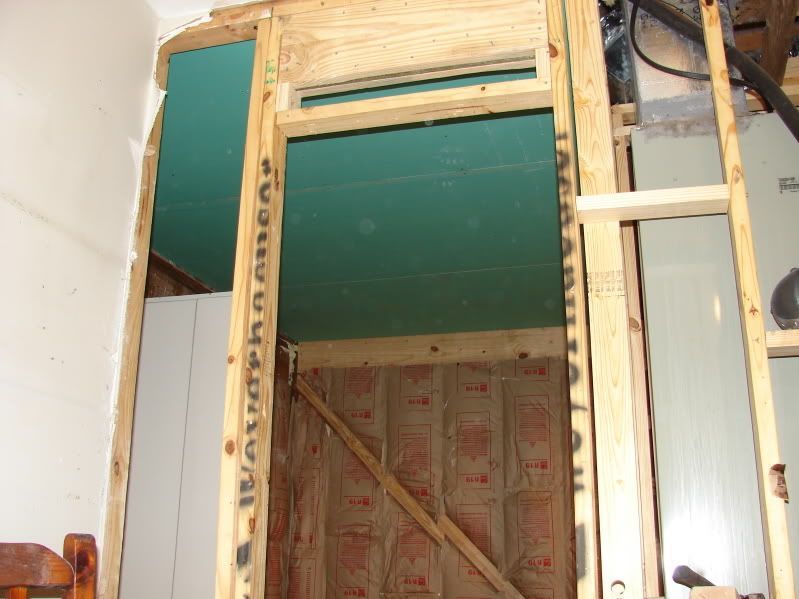
*Reframed the two walls that make the corner of the house, with proper headers, and a opening with double cripple studs for a 48x48 solid glass window over the tub.

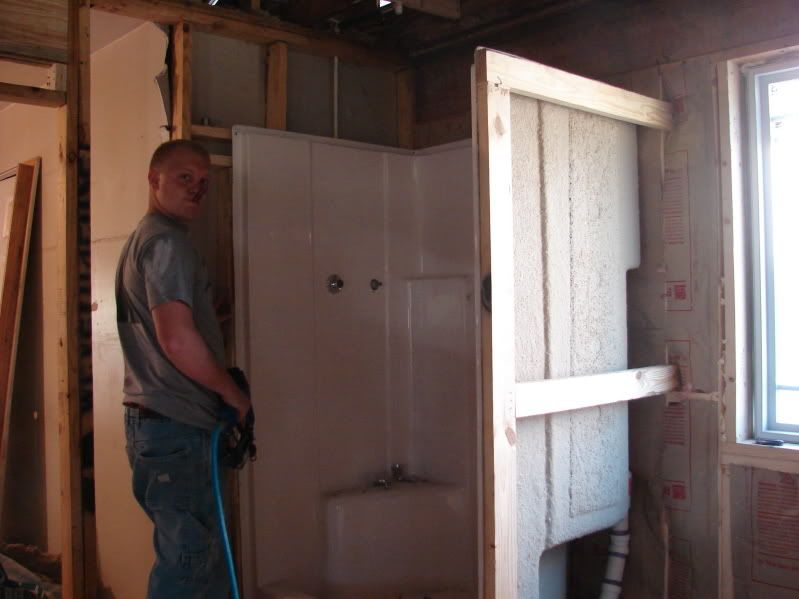
*We purchased the vanity, countertop, undermount sink, and stand up shower. $690 for all that with a discount coupon, and 6mo no pay, no intrest

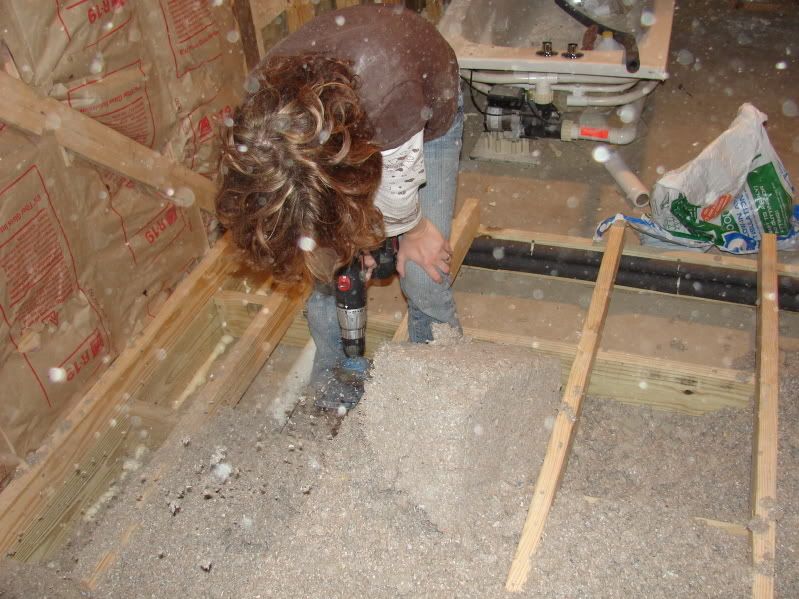
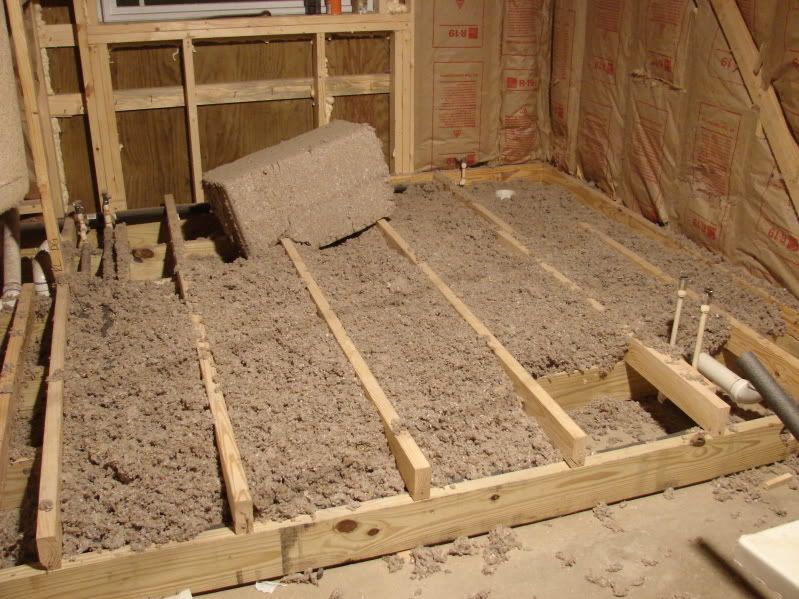
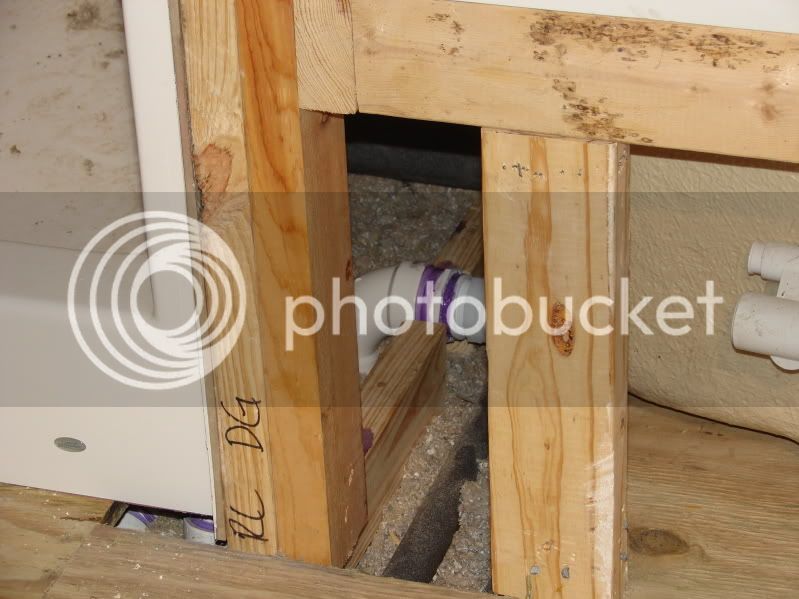
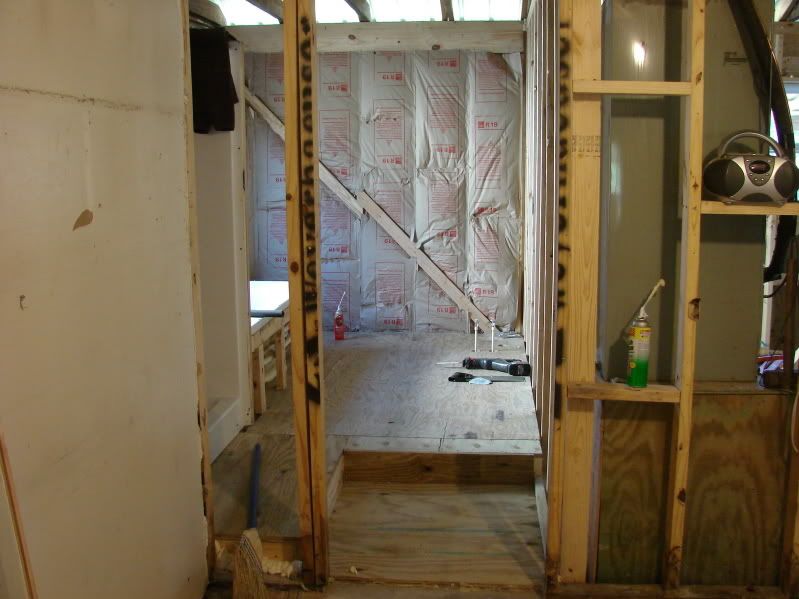
*Rebuilt and leveled the subfloor joists in the bath, with a small stepdown to the doorway.

*The bathroom door is getting moved from the wall adjacent to the dinning area into the living room

*We bought the house wrap

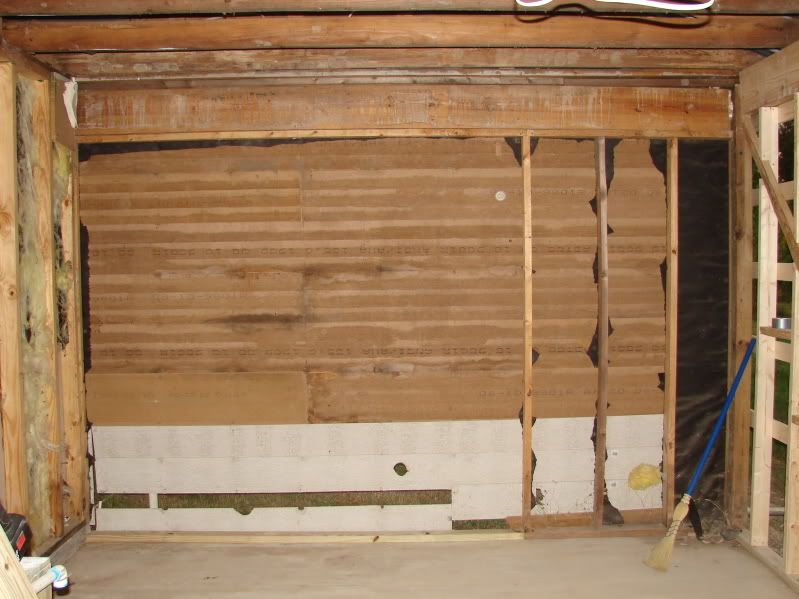
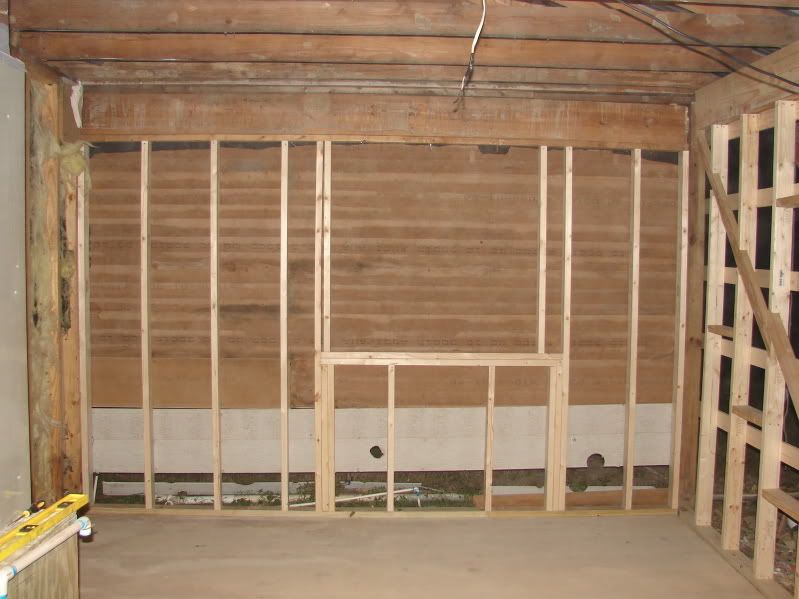
*Installed the treated 4x8 sheets on the outside

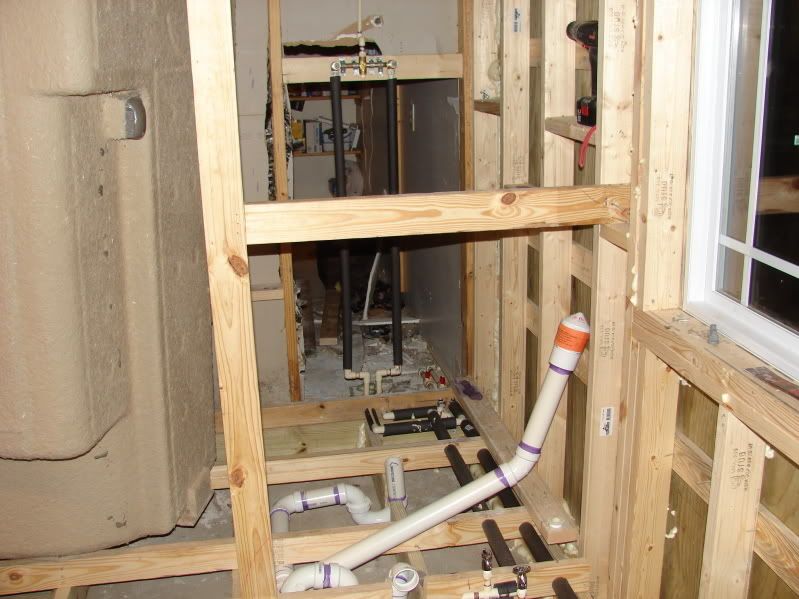
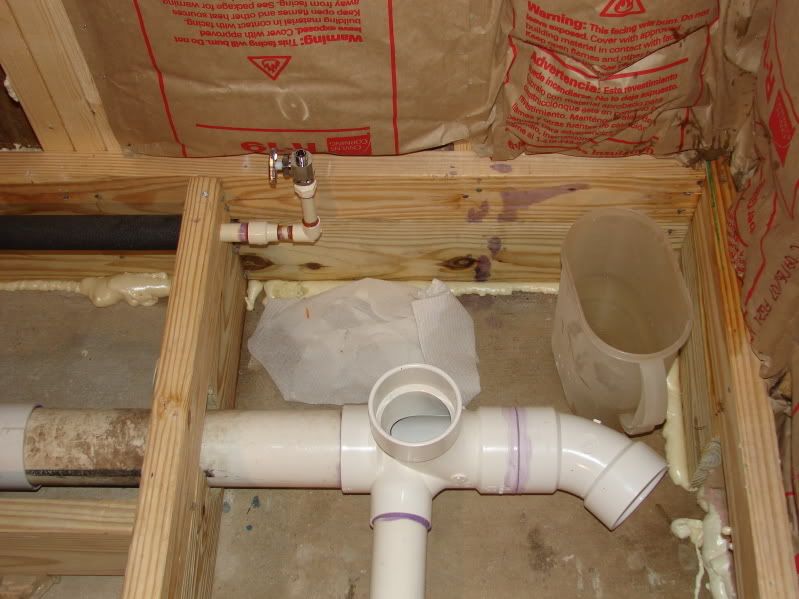
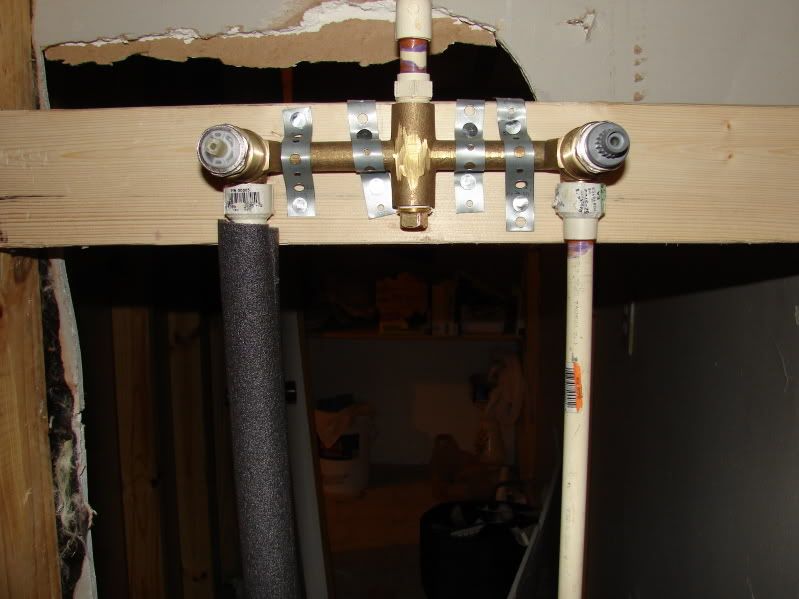
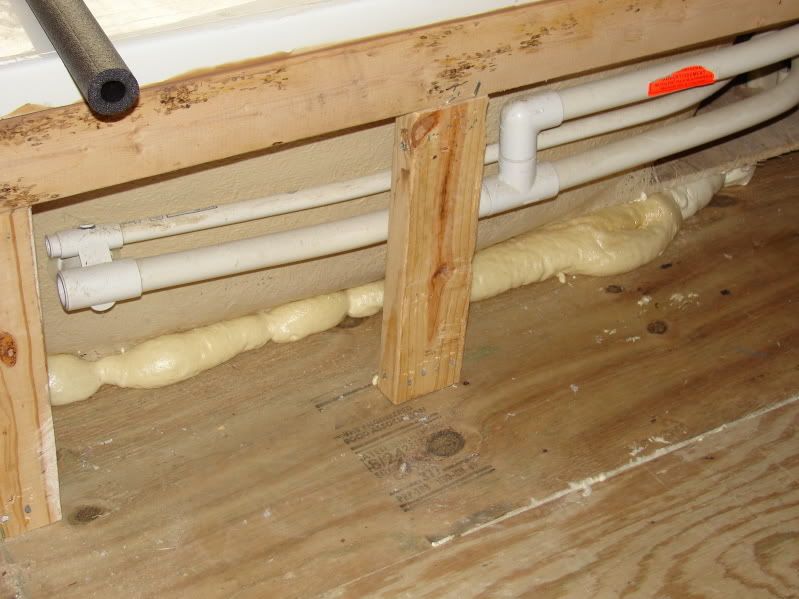
Our next step is to rough in the plumbing, and wiring. We will have one GFCI outlet next to the vanity/sink, and one under the tub surround for the jets. The shower we bought will only fit through one opening in the entire house, and that is the 48in window we framed in. LOL.:eek:

Couple questions.

1. Should we lay down some type of moisture barrier between the subfloor joists and 3/4 planking?:confused:

2. Should the mount flange for the toilet be on top of, or recessed and flush with, the tiles?:confused:

3. I have to bring the shower vent out a wall on the side of the house you will see when you drive up. What could I use to finish this off so it doesnt look like an eyesore on the side of the house?

Thanks you guys have been most helpfull. BTW I will be posting pics again very soon.
 
Hey Logan:
It sounds like you two have been very busy.
1. No, the vapor barrier should not be under the 3/4 subfloor, that would simply trap the moisture in the subfloor and create problems.
2. The toilet should sit on top of the ceramic tile. See if you can find a closed cell foam bowl ring rather than the wax kind. The foam stays resilient and will hold much longer for you.
3. Run the shower vent up the wall and through the roof (it also vents everything else on the line). You may want to paint the vent as it goes up the wall to match your siding.
Keep up the good work folks, we'll look for you on the next round.
Glenn
 
3. I have to bring the shower vent out a wall on the side of the house you will see when you drive up. What could I use to finish this off so it doesnt look like an eyesore on the side of the house?
I would frame it in and cover it with the same material that's on the house so it blends in.
 
Well i figured out that I could bring the main vent up through the dividing wall tween' the shower and tub, into the attic, and out the roof. So that issue is solved.

I didnt think we should lay down a moisture barrier on teh floor, I just wanted to make sure.

Thanks. More updates to follow tomorrow with pics.
 
Hello Logan and Kim:
Congratlations on properly handling the vent. I'm proud of you for taking the initiative. Good Job!
Glenn
 
I just wanted you all to know that I didnt forget about you. We have been so busy lately between the renovation, the 7 acres to clean up, the volunteer fire dept, and work, we havnt had much time to get online.

I have been taking pics though, and will try to update everyone ASAP. We have made alot of progress, and are acctually starting to rough in the plumbing now. The outside walls are all up, furred, and sheeted. The windows are in. The subfloor framework is almost finished.

We are going to be finishing up the plumbing supply and DWV in the next few weeks(have to work on the house on my days off), and then we will be rewiring the room for light switches, lights, and outlets(yes GFCI), installing the insulation in the walls and subfloor, 3/4 sheeting for the subfloor, and hopefully getting some greenboard up on the walls and ceiling. Glen you will be happy to know that we are using OSB for the backing for the drywall in the ceiling. We had to take the backdoor down including the casing to get the shower in, and we still need to frame up the inside bathroom wall, as well as the wall for the a/c unit.

That 48in window came out great, adn really lets alot of light into the area. Keep checking back periodically and see how were doing. Were using CPVC for the hot/cold supply lines, and 10-2 wiring for the whole room.

Looks like the walls are going to be a seafoam green color, white ceiling, off white tiled floor, off white counter top, white sink/shower/tub, with brushed nickel fixtures, adn recessed lighting above the shower/tub/toilet, adn a 4 bulb set above the vanity which is also white. Very clean, and bright. Think steril.;)
 
general overhaul indeed...i can say that both of you are doing a great job! at least i now have ideas on the how-to's. GOOD JOB!

Cheers!
 
OOOOOOOOOOOOOOOOOOOOOOOh Kay!!!!!!! Finally some progress, we have been workin our butts off on this place and we kept finding problems. We had to replace the ridge cap on the tin roof, as it was leaking because of being to small. We used a 20'' cap so now its working fine. On to the pics.

Here is more of the frameing of the new walls, the diagonal brace is a hurricane brace. That is the NE wall, and happens to be the wall the winds hit during Katrina so we wanted that one strong.
DSC01693_800x800.jpg


Someone showed up to help, he hung around for a while, and is currently residing in the attic. He will have to go later.
DSC01695_800x800.jpg


Taking down the north wall, this thing was shoddy at best.
DSC01696_800x800.jpg


Reframing the north wall. You can see the size of the new window going in above the tub.
DSC01697_800x800.jpg
 
Here is the NE wall all furred and sheeted and one new window installed. Had to hurry up and do this before the rain came.
DSC01716_800x800.jpg


Roughing in for the new bathroom door, and getting ready to tear down some more.
DSC01715_800x800.jpg


More teardown, and you can see some build up in the background. The subfloor for the bathroom, and the furred and sheeted walls.
DSC01714_800x800.jpg


Better shot of the wall teardown and rebuild
DSC01721_800x800.jpg
 
Heres two shots of the new north wall and huge window, and the appliances getting roughed in for plumbing.
DSC01720_800x800.jpg

DSC01719_800x800.jpg


Outside with the big window, and no im not done here...still needs flashing, house wrap, tape, and siding.
DSC01762_800x800.jpg

DSC01763_800x800.jpg


Well whatcha think? Were getting it done slowly but surely itll get finished.
 
Well it looks like your moving right along there. And yah beleive it or not you will get done and boy will that feel good.
 
I Remember my first house....all that gutting and rebuilding, What your doing.....Brings back all those memories.;)

Yup OK I'm over it...:D , And all those sore bones at the end of the night.

Keep up the good work, and remember those mistakes for the next house.:D I miss my first house.:(
 
HUGEEEEEEEEEEEEEEEEE FRIGGIN UPDATE.....

my wonderfull not scared to get dirty wife doing something???
DSC01778.jpg


The vent later had a 22*el added to make it vertical. AAV's rock!
DSC01780.jpg


We forgot to glue that fitting where the shut off valve is to do the pressure test...You can figure out the rest. Its fixed now.
DSC01781.jpg


Shower valve.
DSC01785.jpg
 
Kim playing in the celulose insulation.
DSC01786.jpg


This stuff sucks the big one.
DSC01790.jpg


Nailing down the floor.
DSC01792.jpg
 
Gettin the land cleared...my paw in law had access to a side hog and he went nuts.
DSC01795.jpg

DSC01797.jpg

DSC01798.jpg

DSC01799.jpg
 
More land clearing happening.
DSC01801.jpg

DSC01803.jpg


Back to the house...shower gettin dry fitted...again...for the 6th time.
DSC01808.jpg


Shower finally in for good, and tub gettin dryfitted.
DSC01813.jpg
 
Tub frame done. woot
DSC01815.jpg


Tubs in...yay
DSC01817.jpg


That fitting was a pain in the neck litterally.
DSC01818.jpg


South bathroom wall is up.
DSC01819.jpg
 
That large window adds alot of natural light.
DSC01821.jpg


Kim went crazy with the great stuff to add strength.
DSC01824.jpg


More frameing..
DSC01825.jpg


Top of the A/C closet.
DSC01826.jpg
 
Kim got bored while I was doing some framing. Looks like the clearance table at Home Depot!!!
DSC01827.jpg


Great, closets done...WRONG, had to tear that out...couldnt get to the filter.
DSC01829.jpg


Kim driving the big boy toys.
DSC01832.jpg


Spider monkey
DSC01838.jpg
 
Drywall jack...mans best friend...oh womans too
DSC01843.jpg


Panel up!!!
DSC01849.jpg


Ghetto, but it worked.
DSC01852.jpg


Ceilings done.
DSC01853.jpg
 
Back
Top