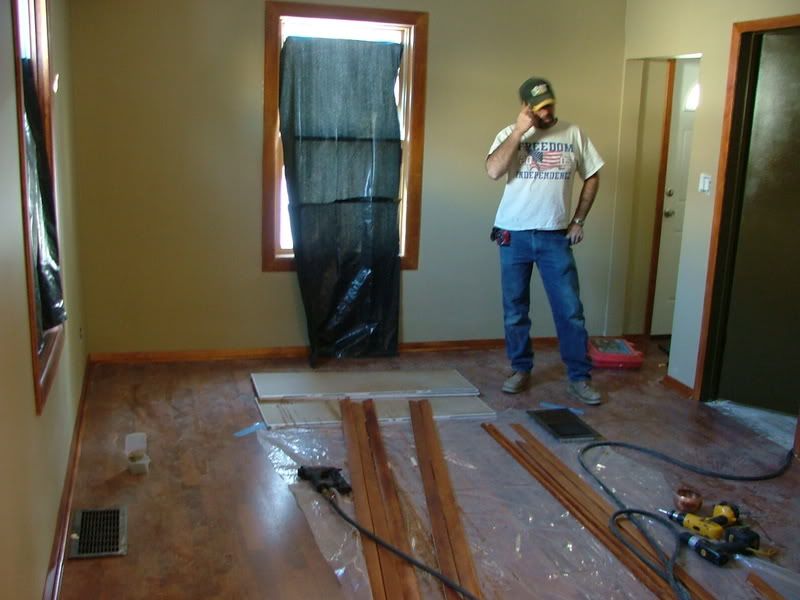
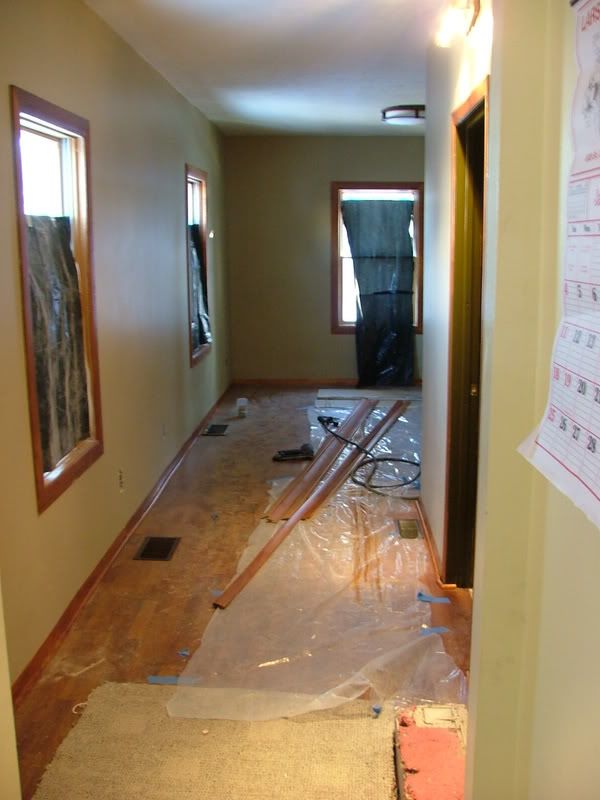
buenrostrox
Well-Known Member
- Joined
- Nov 5, 2008
- Messages
- 47
- Reaction score
- 0
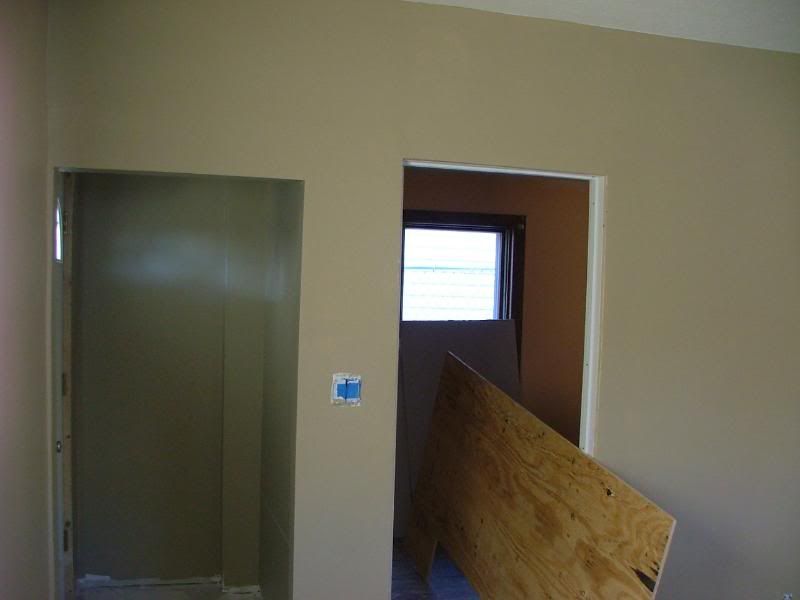
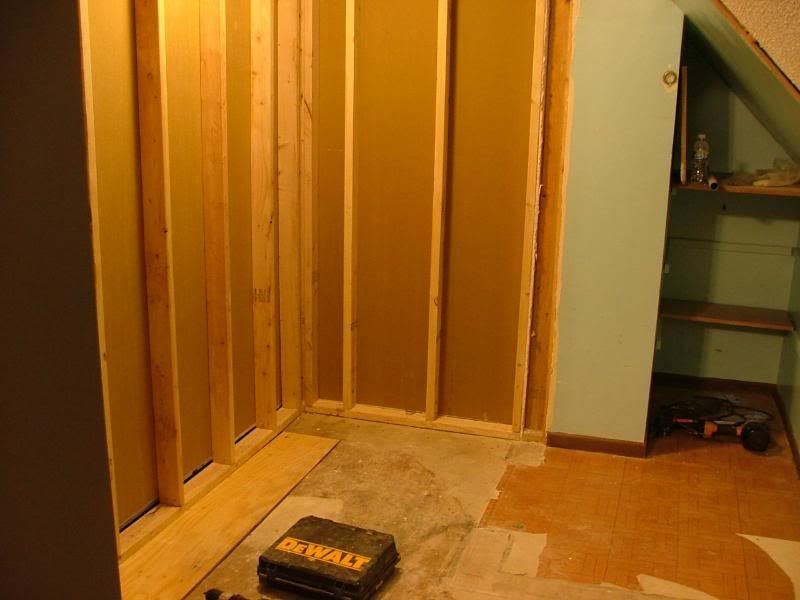
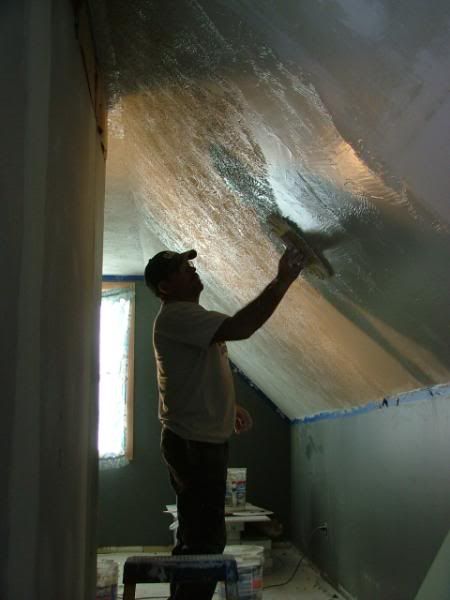
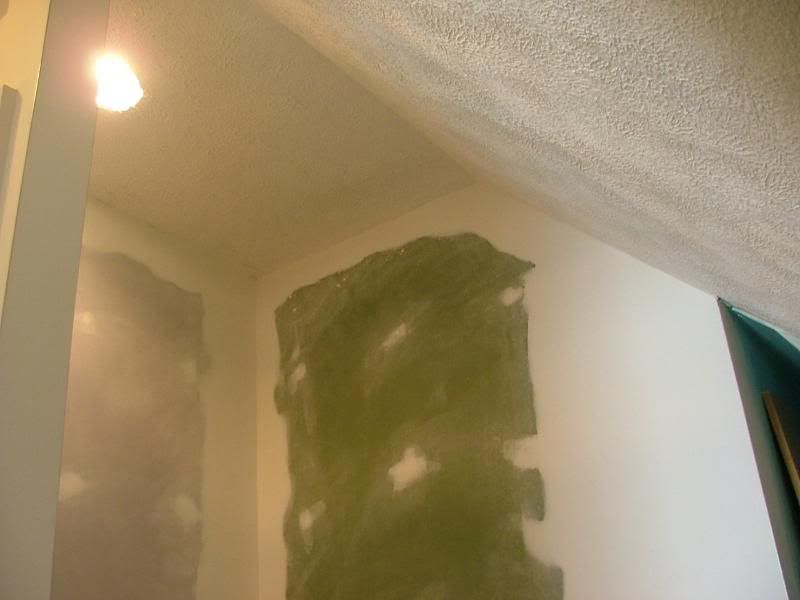
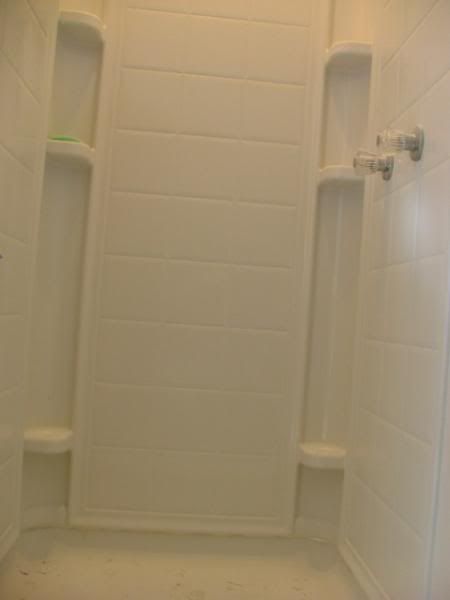
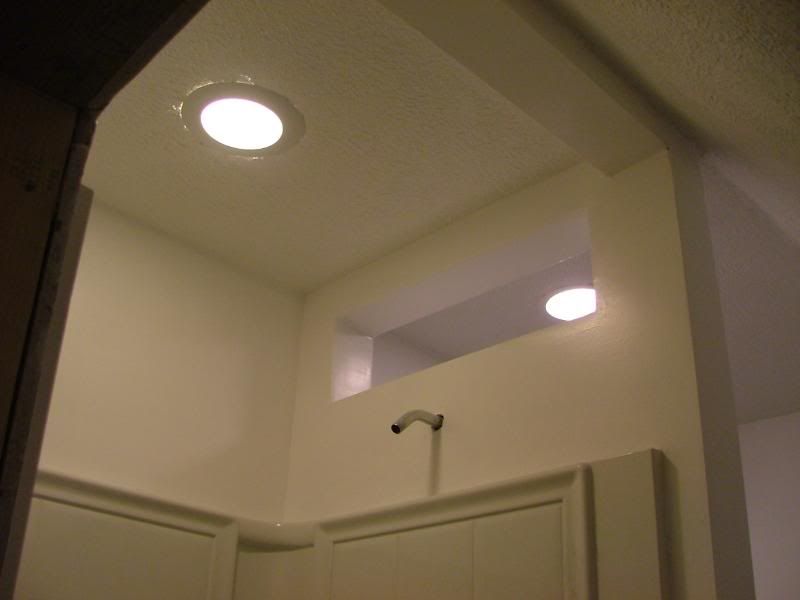
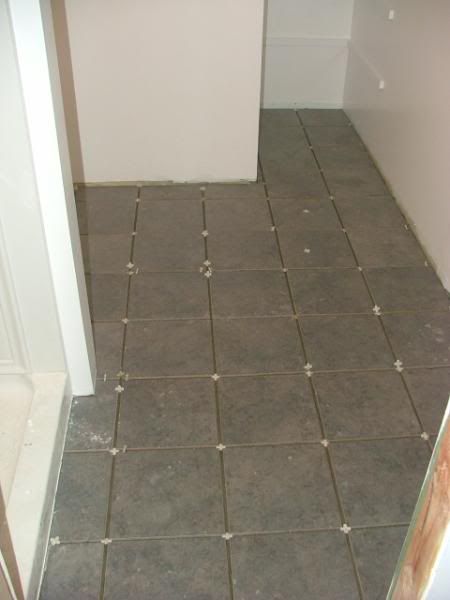
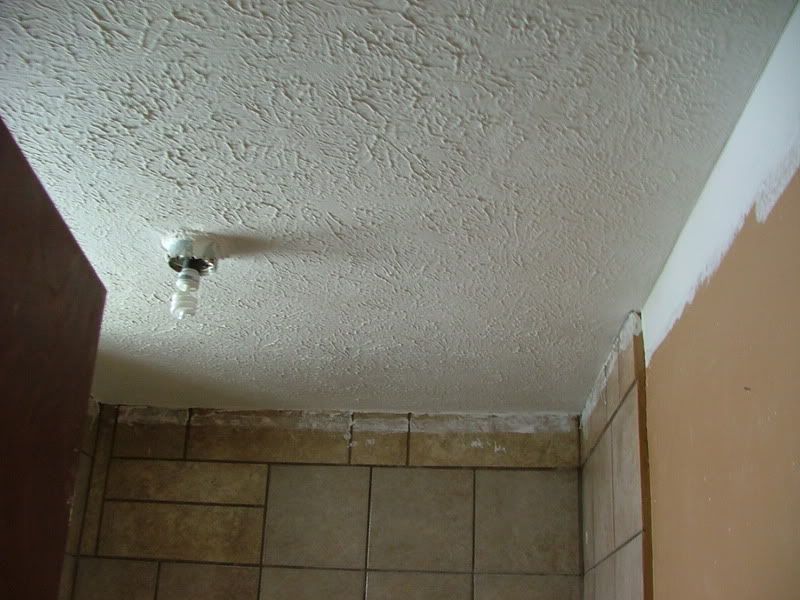
Sample of the texture in the bathroom (best lighing I could find to show the work)
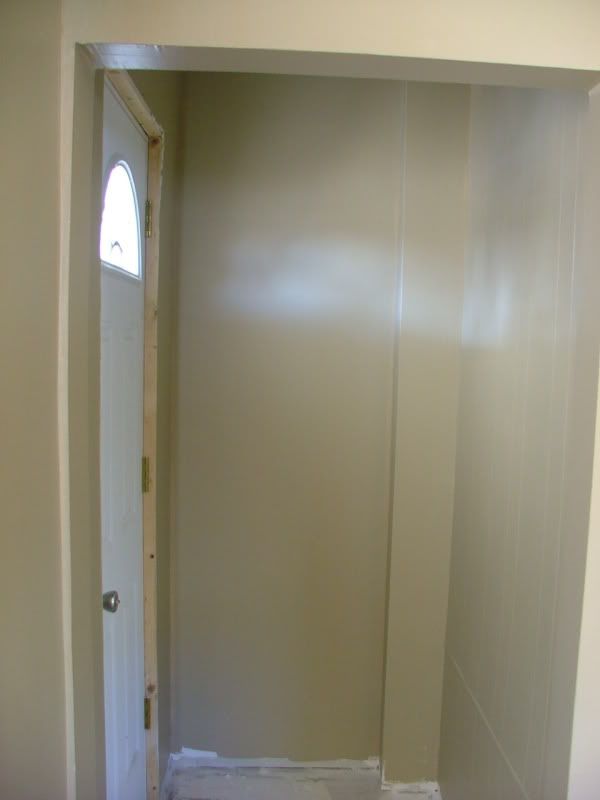
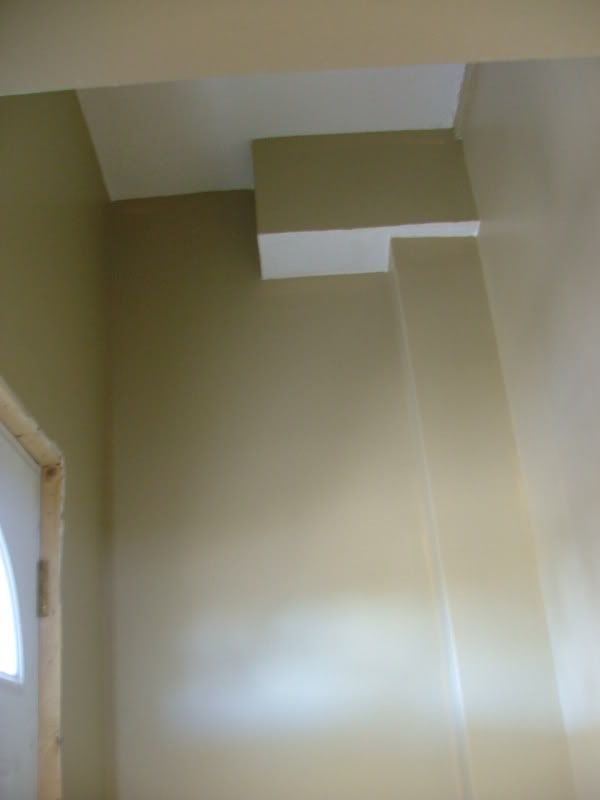
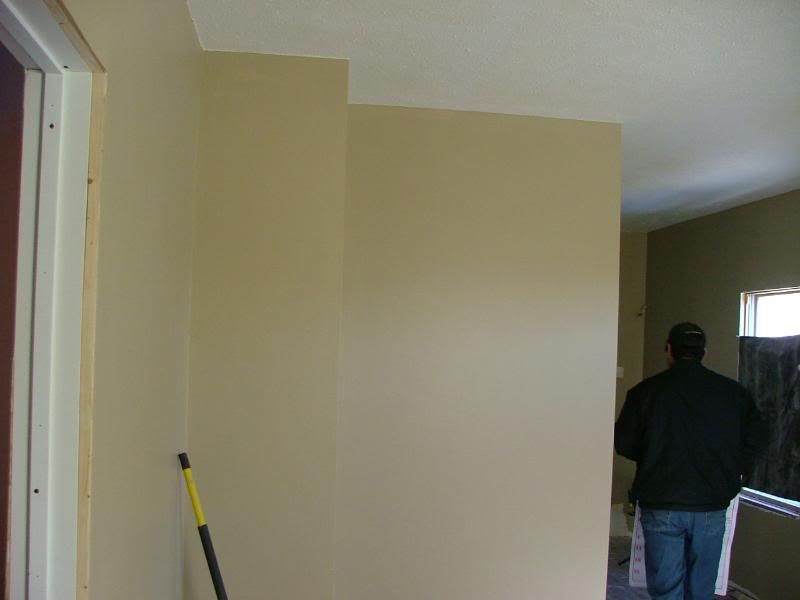
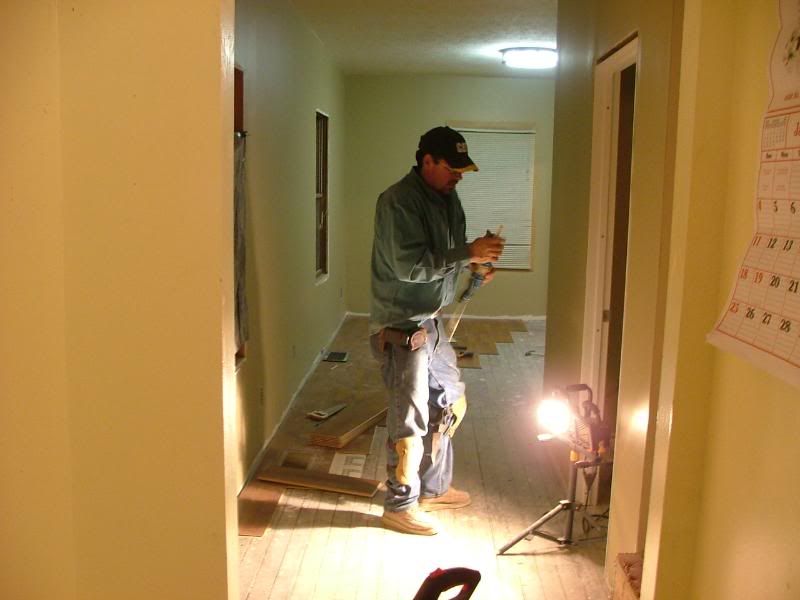
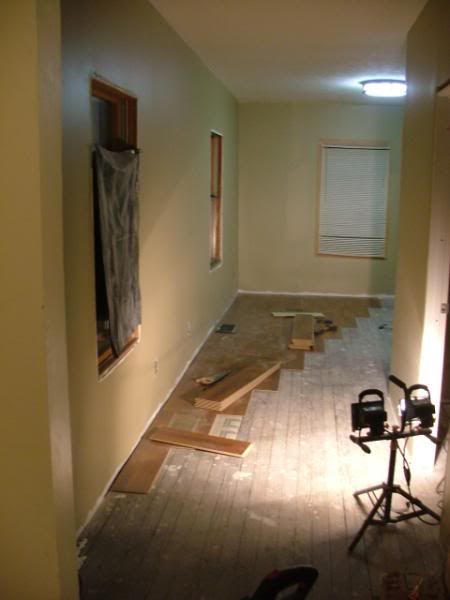
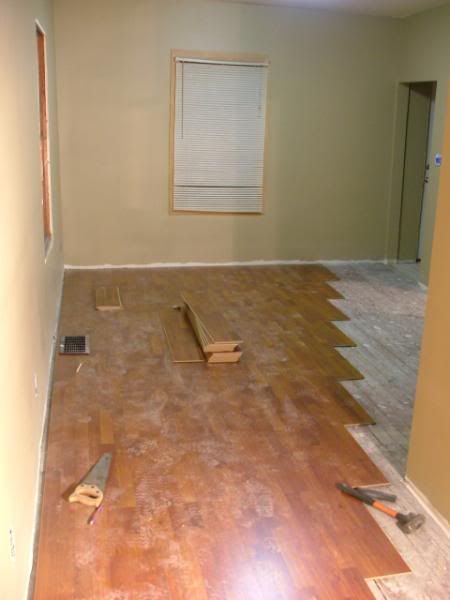
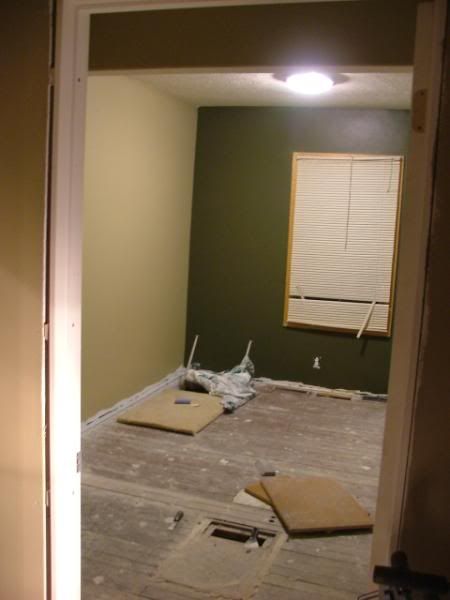
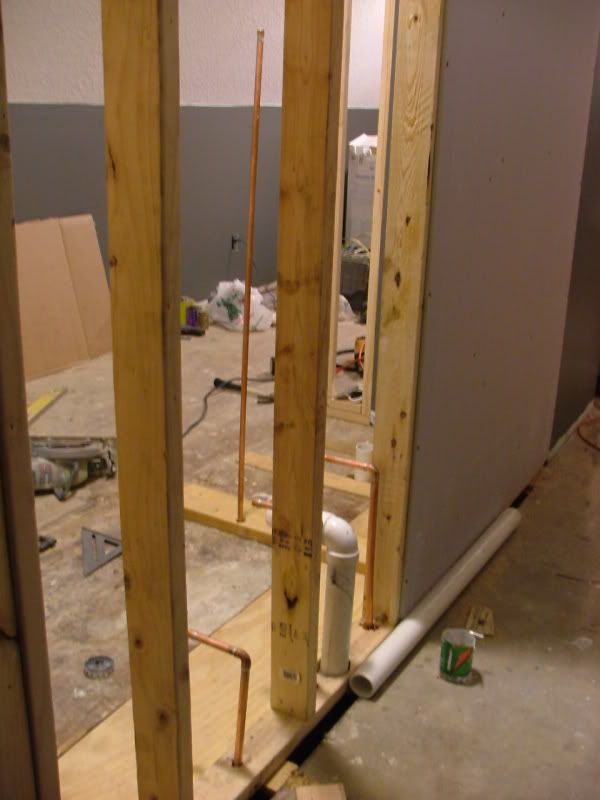
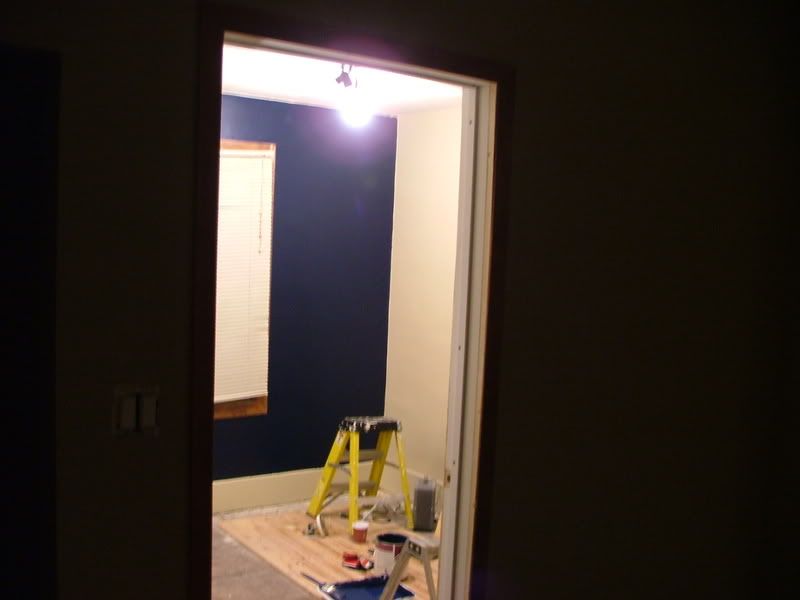
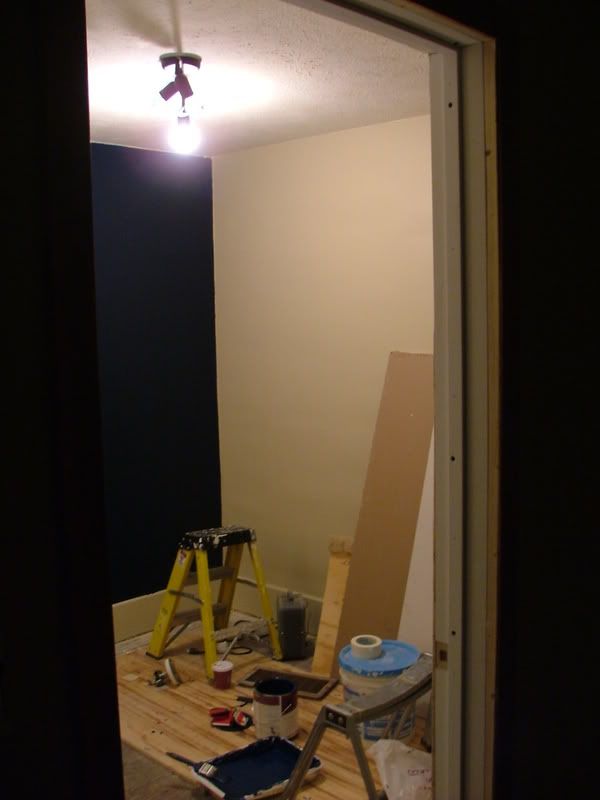
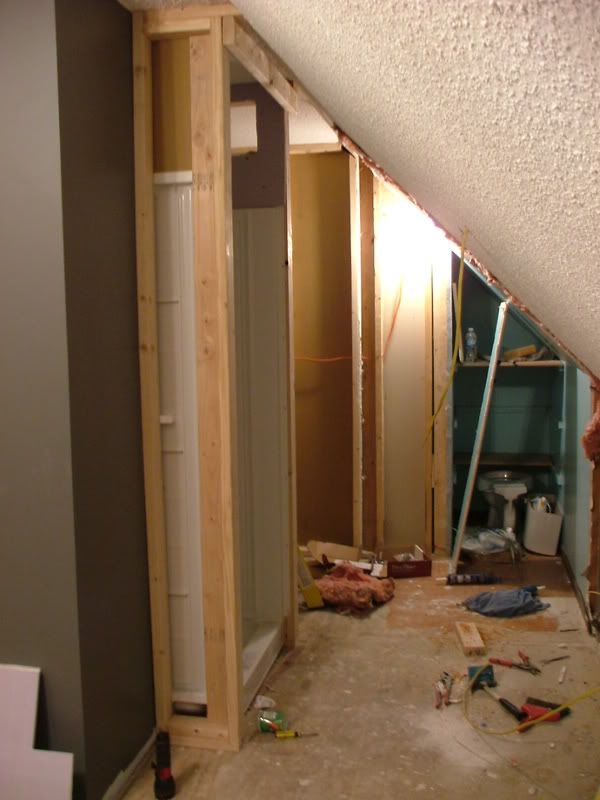
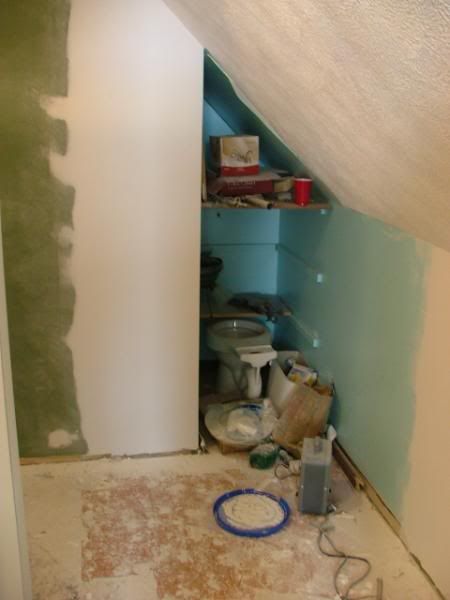
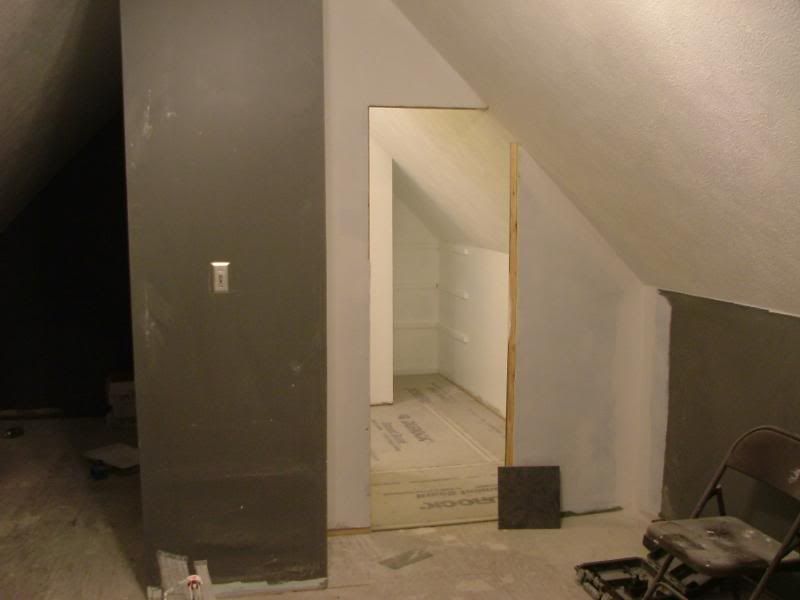
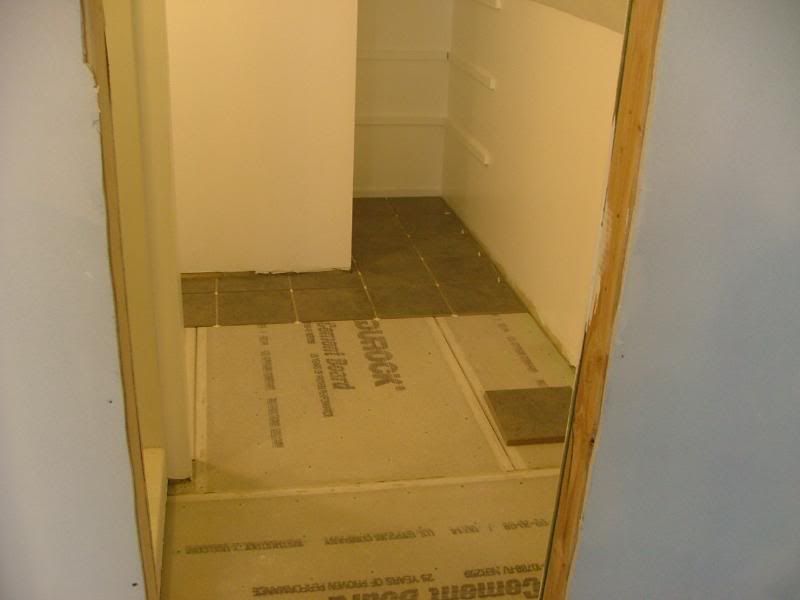
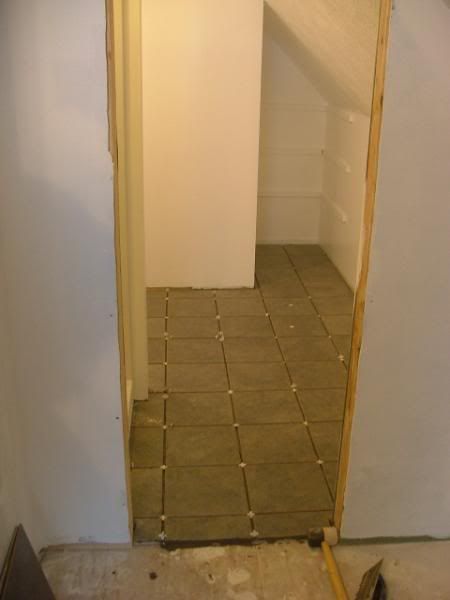
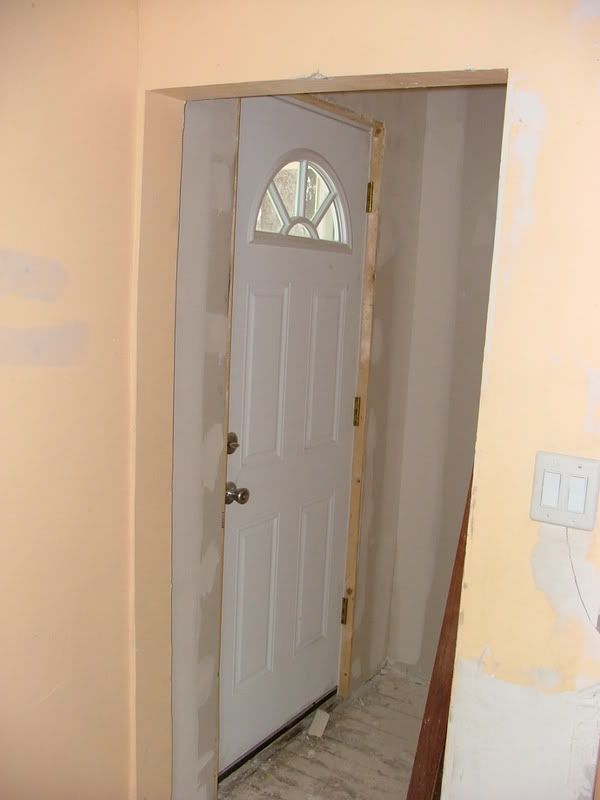
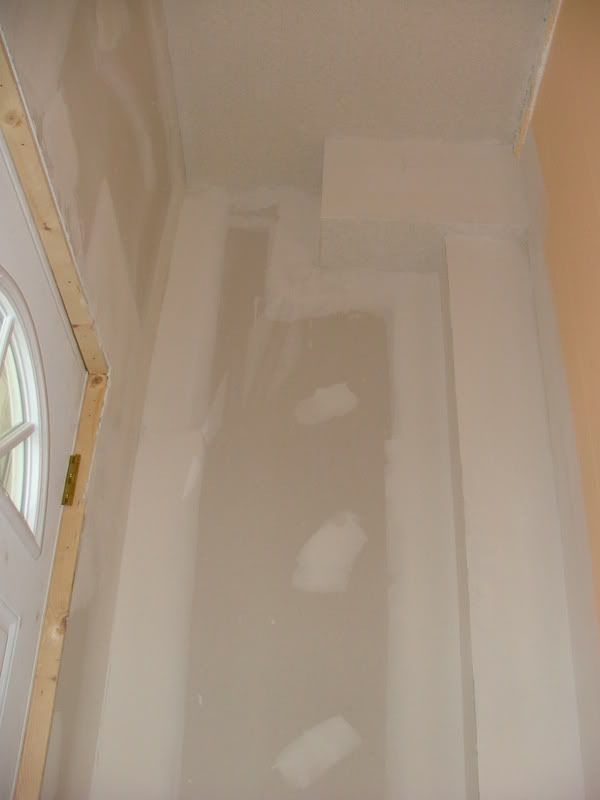
Inside the doorway where we added the air supply to the upstairs:
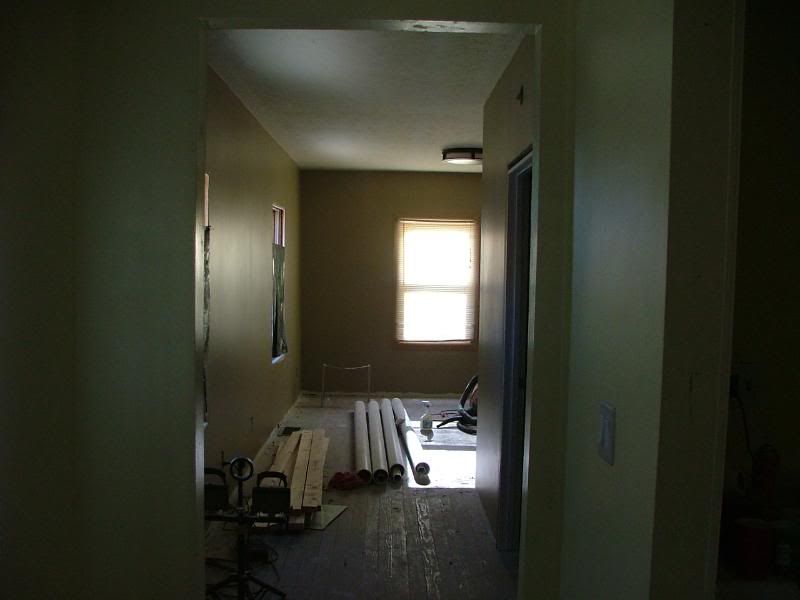
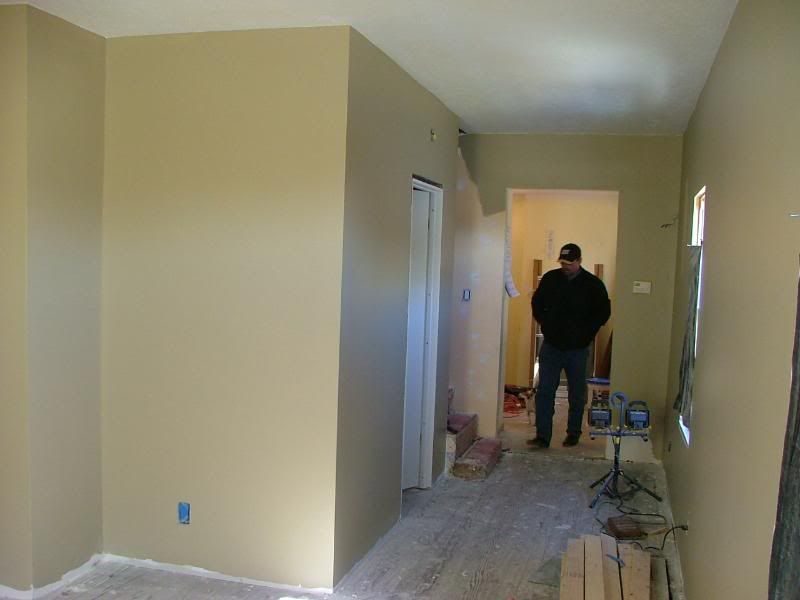
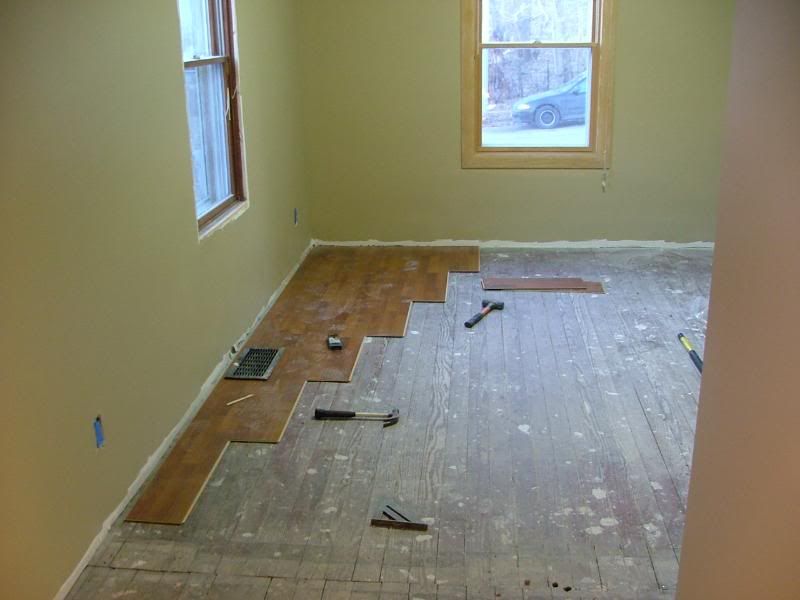
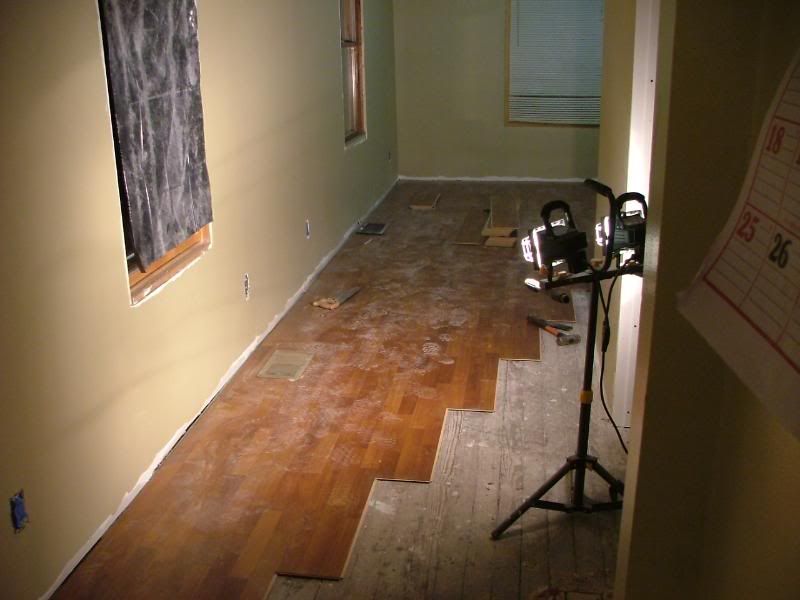
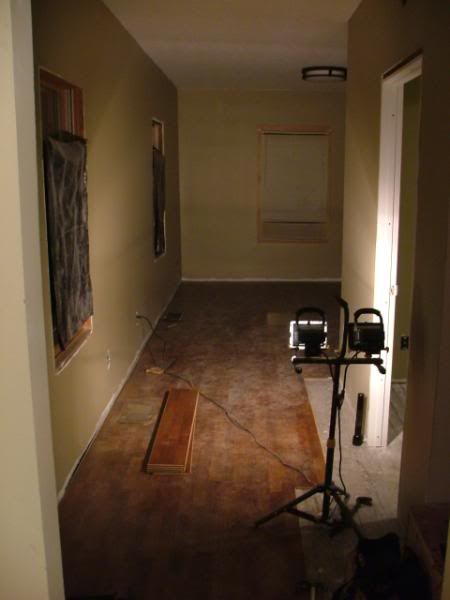
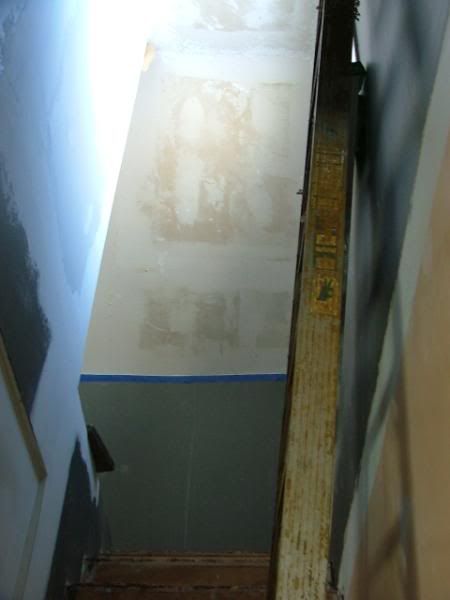
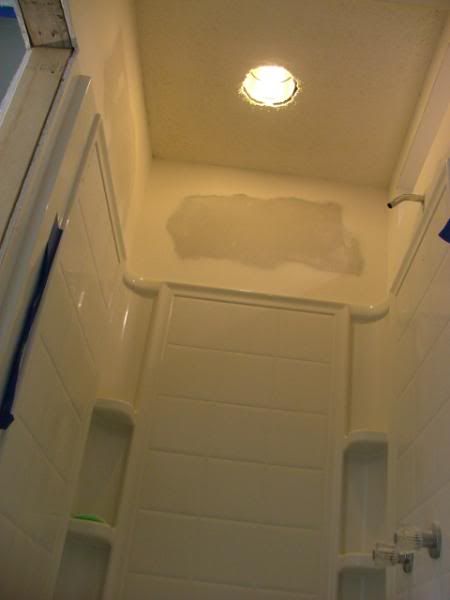
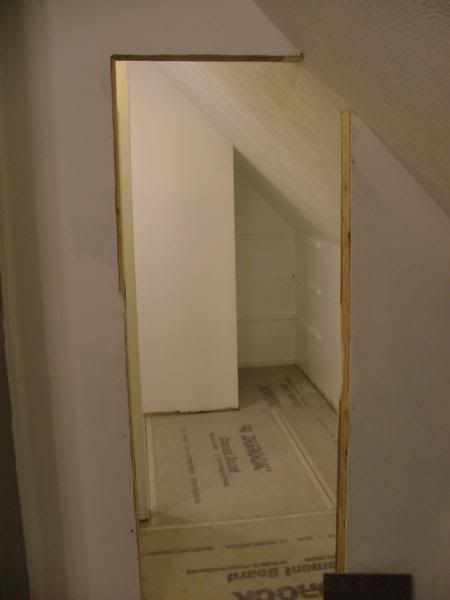
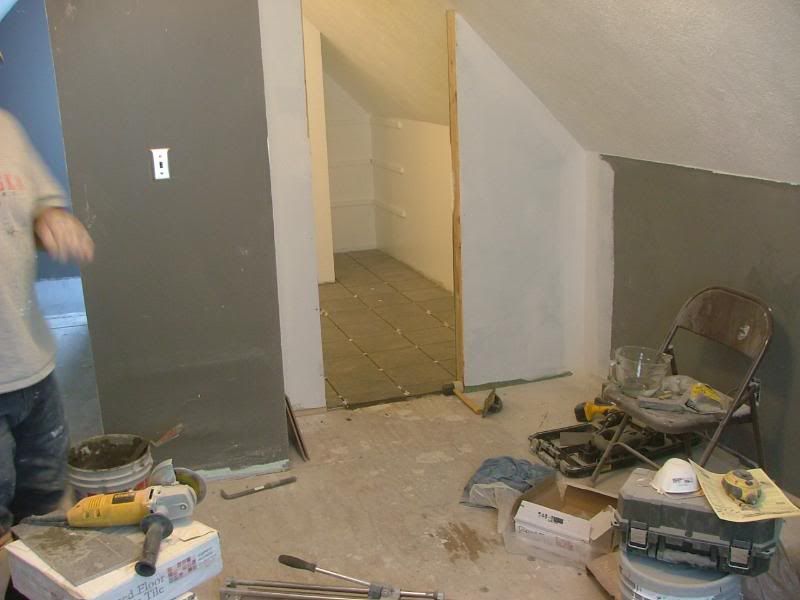
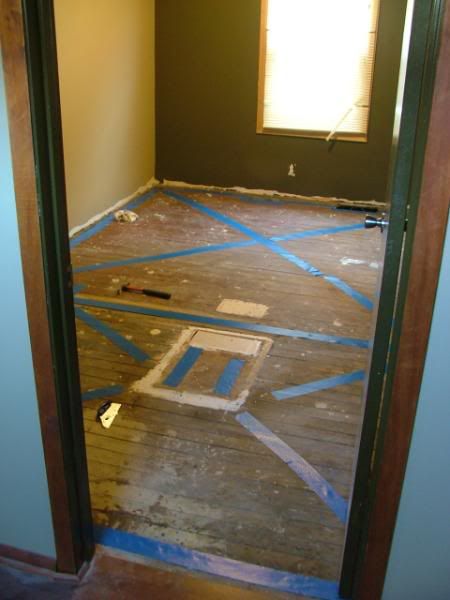
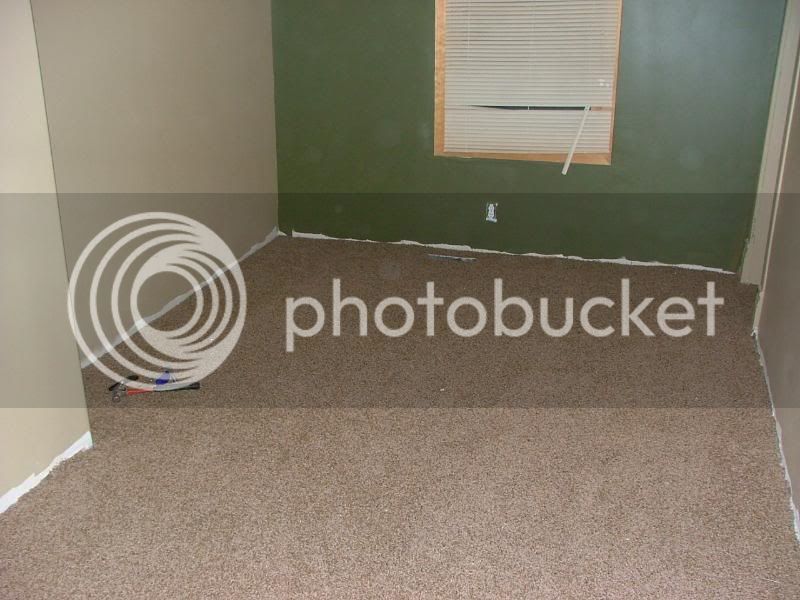
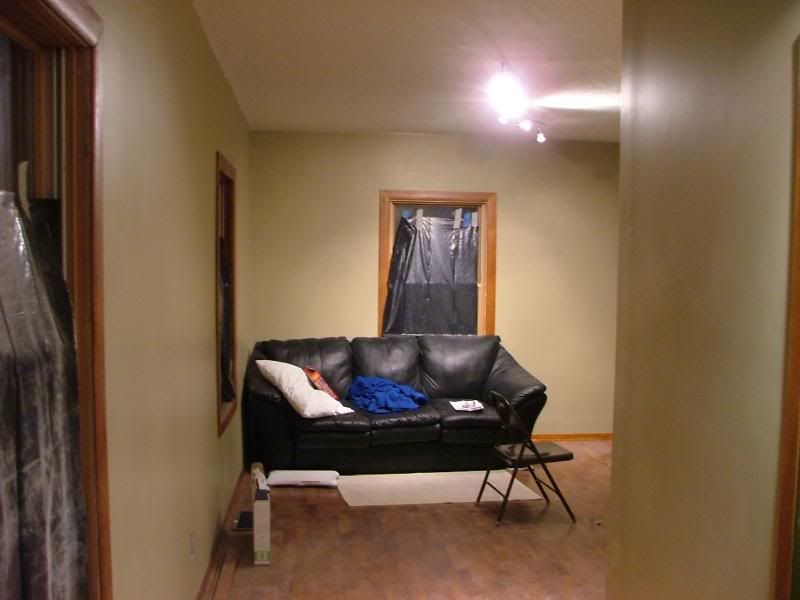
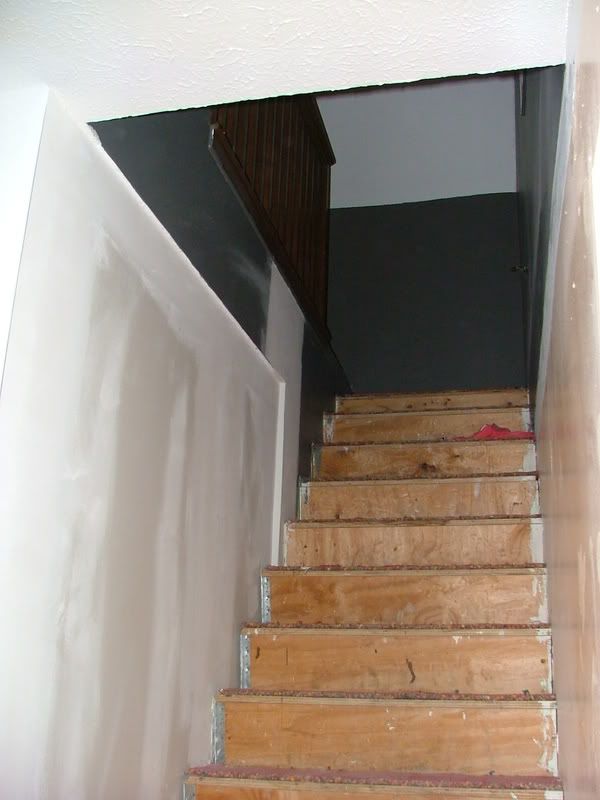
Looking upstairs:
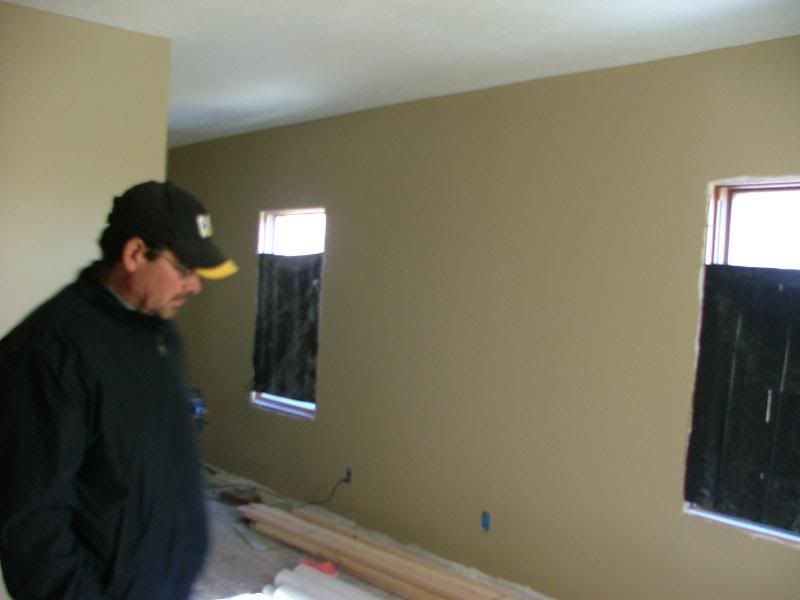
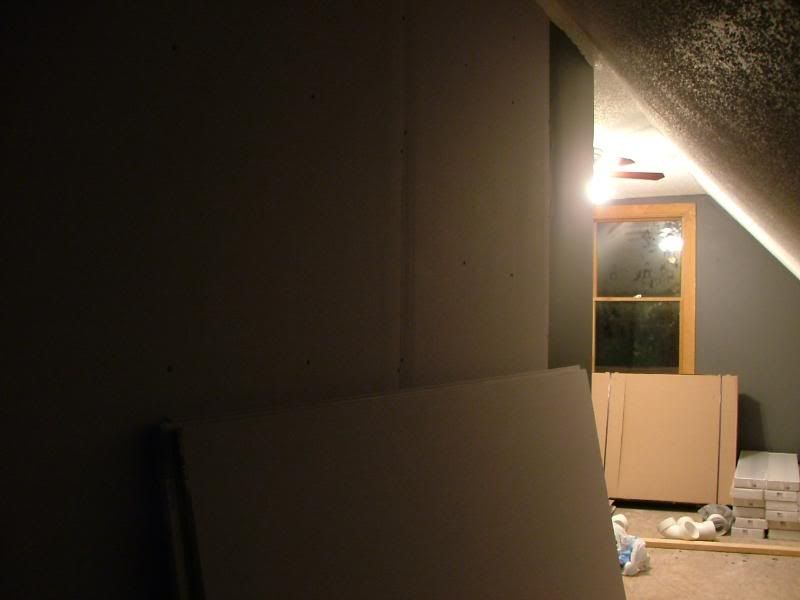
I REALLY need to get a fisheye lens for my camera to better capture the work.
Inside the doorway where we added the air supply to the upstairs:
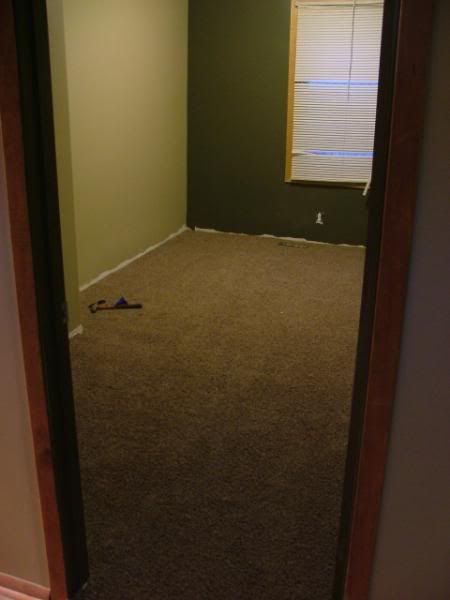
Looking upstairs:
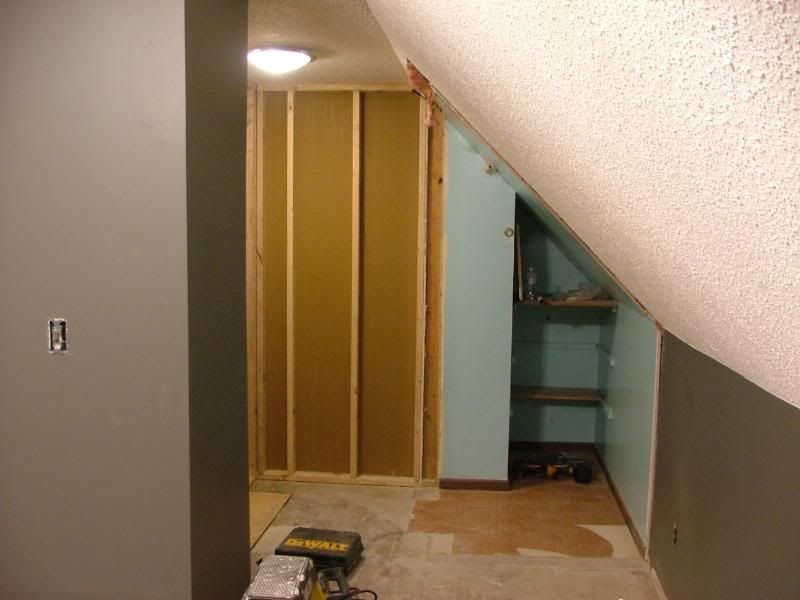
I REALLY need to get a fisheye lens for my camera to better capture the work.
")