Hello Folks,
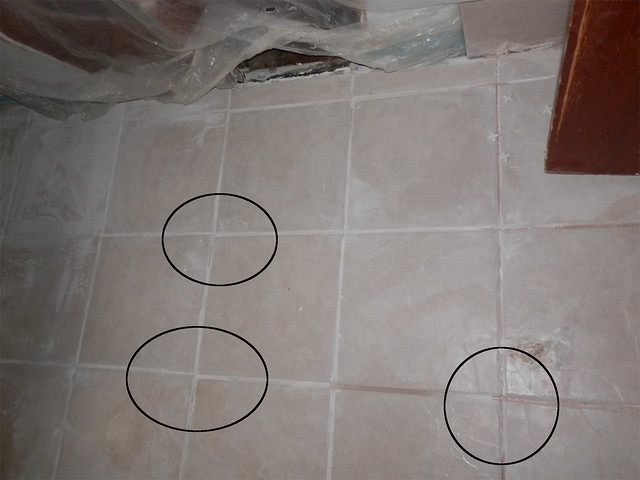
Lately I am tacking a floor new of the first bedroom of a house bought few months ago. Apparently, it had carpet in the past, the carpet was on top an old vinyl floor which is largely peeling off on its own; so I went ahead and removed the old dirty vinyl floor along with the remaining staples and nails used to hold the carpet in place. The subfloor has a small surface superficial damage in a small superficial spot (2 x 2 inches area) and overall seems solid, so since I will apply a layer of thinset below the backerboard was wondering whether or not this would require any extra attention before thinset applicaiton: does not thinset even out small variations and fill small crevices?
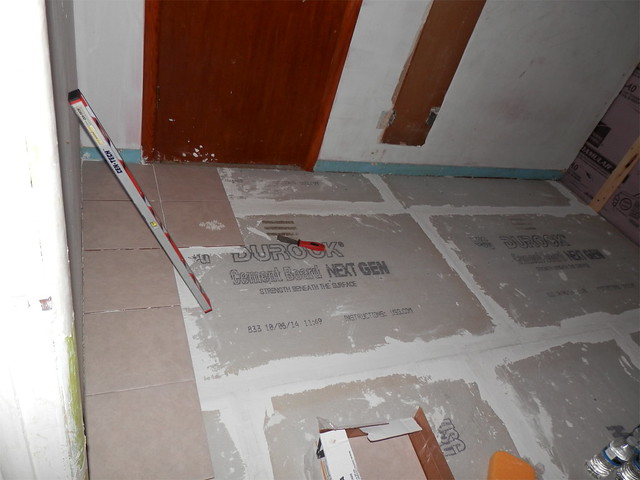
Once the old dirty and in bad shape vinyl (or linoleum) floor is removed along with it is tar black underlayment, the subfloor is thoroughly cleaned. The plan would then be to apply thin set to hold the ¼ backer board in place which would be disposed in a staggering layout and perpendicular to the subfloor boards; subsequently screwing backerboards to the subfloor. In a next phase will start to install the ceramic tiles, etc. Presently, the subfloor is not perfect even all around, but it is mostly square and even with small deviation but it is very small (the level's bubble is mostly leaning towards the center even on the spots where there is small variations), and I would imagine such small imperfection could be offset with the thinset below the backer board without resourcing to a self-leveling underlayment/compound?
Also, I plan on removing the baseboardy and install the backerboard with a 1/8 distance of the wall studs+thickness of the drywall = so, the final distance of the outer edges of the backerboard would 1/8" from the drywall (some places are missing drywall so have to account for the thickness of the future drywall).
Below are some pics portraying the situation at hand:
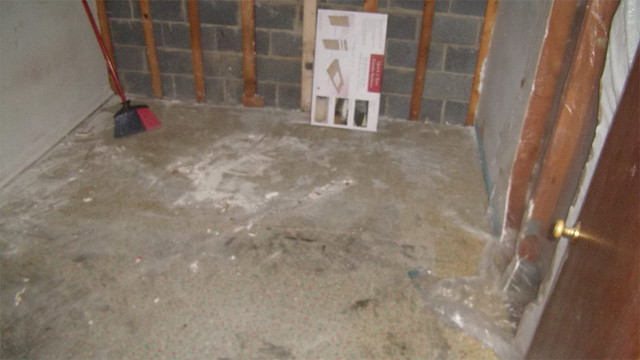
(The old vinyl or linolium floor still in place)
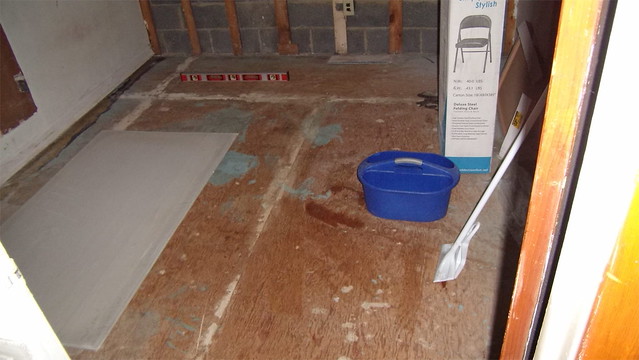
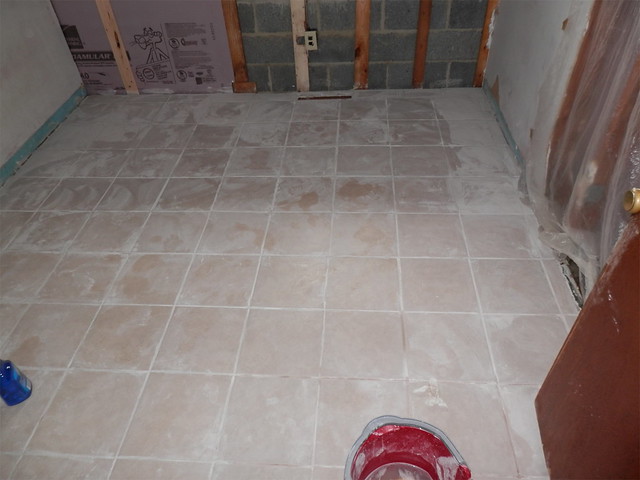
(linoleum or vinyl floor removed)
Lately I am tacking a floor new of the first bedroom of a house bought few months ago. Apparently, it had carpet in the past, the carpet was on top an old vinyl floor which is largely peeling off on its own; so I went ahead and removed the old dirty vinyl floor along with the remaining staples and nails used to hold the carpet in place. The subfloor has a small surface superficial damage in a small superficial spot (2 x 2 inches area) and overall seems solid, so since I will apply a layer of thinset below the backerboard was wondering whether or not this would require any extra attention before thinset applicaiton: does not thinset even out small variations and fill small crevices?
Once the old dirty and in bad shape vinyl (or linoleum) floor is removed along with it is tar black underlayment, the subfloor is thoroughly cleaned. The plan would then be to apply thin set to hold the ¼ backer board in place which would be disposed in a staggering layout and perpendicular to the subfloor boards; subsequently screwing backerboards to the subfloor. In a next phase will start to install the ceramic tiles, etc. Presently, the subfloor is not perfect even all around, but it is mostly square and even with small deviation but it is very small (the level's bubble is mostly leaning towards the center even on the spots where there is small variations), and I would imagine such small imperfection could be offset with the thinset below the backer board without resourcing to a self-leveling underlayment/compound?
Also, I plan on removing the baseboardy and install the backerboard with a 1/8 distance of the wall studs+thickness of the drywall = so, the final distance of the outer edges of the backerboard would 1/8" from the drywall (some places are missing drywall so have to account for the thickness of the future drywall).
Below are some pics portraying the situation at hand:
(The old vinyl or linolium floor still in place)
(linoleum or vinyl floor removed)