nealtw
Contractor retired
If the plywood is 1/2" thick as a spacer there will be room to run the wire between the 2x6 hopefully the wire is in the center of the top plates of the wall.


I could probably just flip all of the breakers off to be safe and figure out which one it's on later. I do have a little tool that is supposed to detect electricity to tell me if a wire is live, but it also lights up when it is near metal so I don't think it works all that well.To find the breaker. You need some cheap fixture, if nothing else pick up one of those plastic things that look like the old white porcelain ones.
Turn off all the breakers, hook up the fixture and turn on breakers one at a time until that light comes on and you have the breaker in question.
If the wires go sideways, the header gets easier, just 2 2x6s nailed together no plywood and a block on each side to hold it up.. Just pre dril the blocks for the wire to go thru.
I could probably just flip all of the breakers off to be safe and figure out which one it's on later. I do have a little tool that is supposed to detect electricity to tell me if a wire is live, but it also lights up when it is near metal so I don't think it works all that well.
I really do need to organize the breaker box and make sure everything is more clearly marked. Some of the magnets with the identifiers have slipped and I'm not sure which breakers they are supposed to indicate.
So, the 2x6s would be put together side by side and I would put it on top of extension blocks to raise it up a bit more?
I think I'll find a cardboard box and make a template where I can figure out where things would go when level so I can figure out just how much to cut and how much to buff up. And I have a spare piece of 2x4 just lying on the floor in the area for some reason.
I'll have to check the workshop for 2x6s. If we don't have any I can hit the local hardware store later.

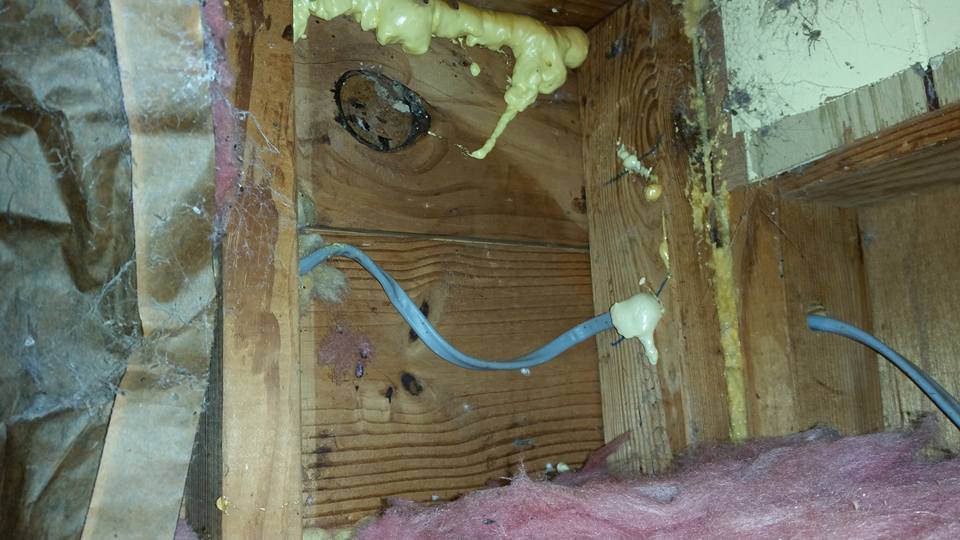
The sub floor we can see by the back door looks to be plywood.
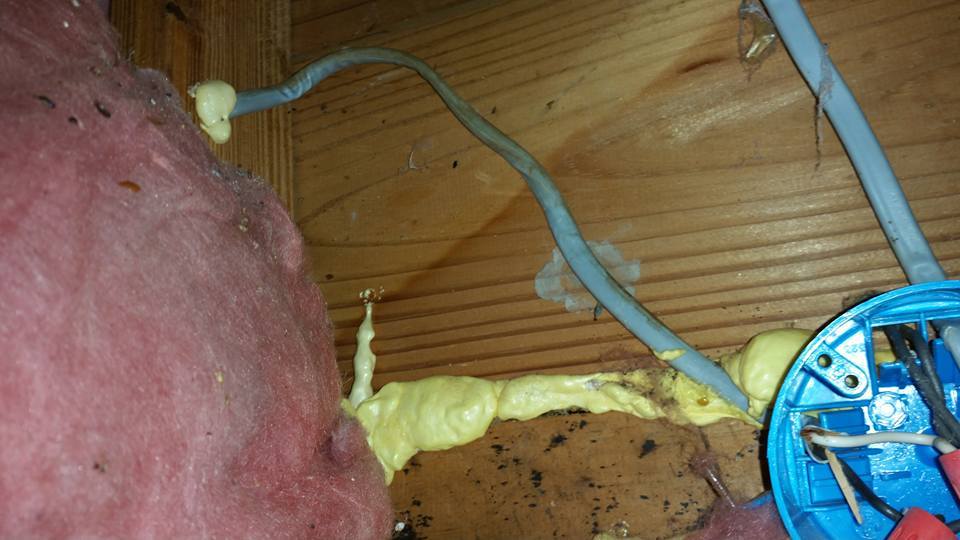
In this picture we can see boards. these board could be any thickness from 3/4 inch to 1 1/2 inch, the plywood could be any thickness from 1/4" to 3/4" and there could be more layers in between.
Is there any holes thru the floor where you might get a look at what you have?


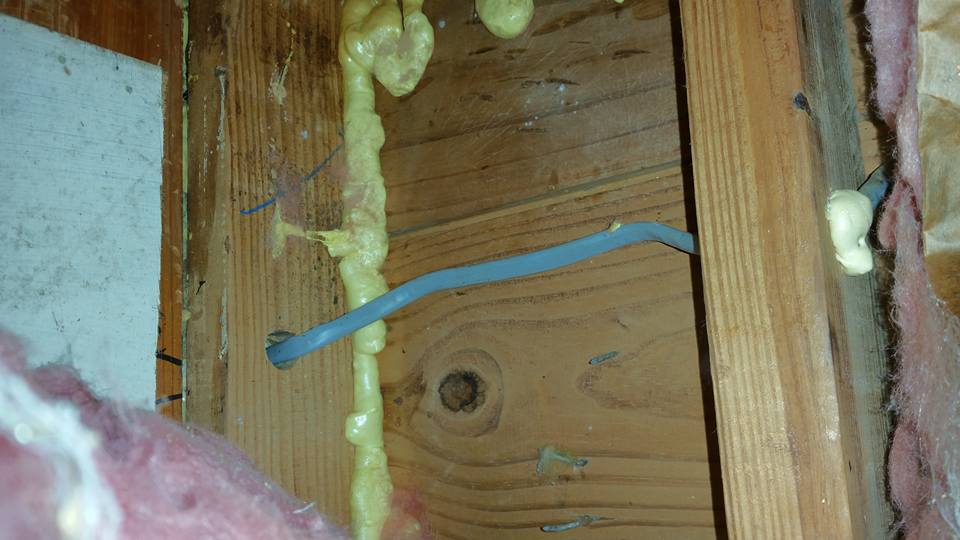
Good idea. I'll have to take a look at it-- and I'll have to see if that wall actually rests on a joist. Some of my walls don't even have bottom plates or any floor under them in spots.That short wall beside the door. The bottom plate of that wall is sitting on the sub floor. That 2x4 is 1 1/2 inches thick, that might help you figure out how much wood is on top of the sub floor.
Good idea. I'll have to take a look at it-- and I'll have to see if that wall actually rests on a joist. Some of my walls don't even have bottom plates or any floor under them in spots.
I've since sealed it up, but I discovered a few spots inside walls where there was no floor at all underneath parts of the wall. Just gaping holes and a flashlight let me see the dirt on the ground below. LOL.most times those walls don't need to line up with a floor joist. With enough layers of flooring the bottom plate could be below surface.
Flooring forum people recommended having two layers of subfloor to reduce problems from movement.
Thanks! I still need to buy the wood for the header and get that put in. I'm very bad about procrastinating.I'm late to the party, but yes, you definitely want flashing under that door. A pan is good. I use lead sheet (roll) and make my own flashing. But something is needed to keep the water out and prevent rot.
Enter your email address to join: