Non-destrucive way to remove ends of plastic drums?

House Repair Talk

Help Support House Repair Talk:

This site may earn a commission from merchant affiliate links, including eBay, Amazon, and others.

Flyover

Trying not to screw things up worse
Joined
Jan 6, 2017
Messages
2,159
Reaction score
2,302
Location
Oh Hah
I got a couple plastic drums to use as rain barrels. They look just like this:

56wt57_1_1.jpg


Is there a non-destructive way to remove either end of this type of barrel so it can be re-attached later?
 
Giving this a bump before I just cut a big hole in the top...
 
Not that I know.

I take a sawzall and cut around the top leaving the lip. Then smooth the cut with a grinder.
 
Why do you need to do this?
More info is needed.
There are already holes in the top, which can be modified, and bulkhead fittings can be added at the bottom.
Back up your story, and start again, for all our benefit.
 
Sorry, I'd originally typed a long explanation and deleted it thinking it was unnecessary.

There are indeed two manufactured holes in the top, one of which has a knockout in the center that can accept a 1/2" (or might be a 3/4") threaded spigot.

This would work fine if I was installing the rain barrels on their sides, but I am installing them upright, like in the photo. So my downspouts will be pouring into the top through one of those holes, then I want to place a spigot near the bottom.

To place that spigot, there's a kind of flange (not sure what better to call it-- is that what you meant by "fitting", @Jeff Handy?) that has to first be installed on the wall of the barrel, and the spigot screws into that. The flange needs to be inserted from the inside poking out, then the flange held in place while the nut is tightened on the outside.

Since my arms aren't 3' long and 2" in diameter , I have no way to insert and hold the flange in place unless I can remove one end of the barrel, or at least make a wide hole in the top that can accept my arm and part of my shoulder. A buddy might have to tighten the nut while I hold the flange.
 
I have a few rain barrels, but were store bought. I would avoid opening the complete top if possible to avoid small animals from drowning in the water, and keeping the mosquitoes better in check. As far as the inside nut on the spigot, a $5 Harbor Freight trash gripper will help you hold the nut after cutting a 5" x 5" flap on the top of the drum.
 
Mount it up side down and screw your hose bib into one of the bung holes. cut a hole where needed in the top to be a tight fit on your down spout.

You will maybe need an overfill hole on the top away from the house.

Sit it up in the air a little on blocks or a frame made from wood.
 
I'd lightly tape the flange to a broom handle and guide the flange through the hole.
Tighten the nut onto the flange and call it good.
 
@bud16415 That's an interesting idea...

I've already got the blocks in place and the barrel is sitting on top waiting to be "hooked up". There are three courses of blocks, totaling about 2 feet high: some brick-sized ones on the ground (actually I put down a mulch bed first, so I could get the first course of blocks level just right; this ain't my first rain barrel rodeo and in my experience it should all compress down evenly as the barrel gets filled). Then two courses of cinderblocks on top of that.

The top course of blocks just below the barrel are spaced apart sightly, which means if I flipped the barrel upside down there is a gap where I could align the bung hole and fit the hose bib. I would then cut a hole in the "top" (formerly the bottom) for the downspout, and I would cover that hole with a screen by the way. (And then I could return the now unneeded $4 flange to Menards!)

...But the hose bib would be coming out at an odd angle. To have it angled outward away from the house and toward the "user", the handle would have to be on the bottom and you'd have to kind of reach around underneath, inbetween the two cinderblocks, to open and close...right? Which would be tricky if you've also got a watering can there to receive the water.
 
Last edited:
PS. In case anyone's curious my overflow setup will probably take the form of a hose, connected on the wall of the barrel near the "top" (whichever side ends up as the top), and run into the drain that the downspout is currently connected to right now. Alternatively I might try to leave more of that downspout intact, cut it maybe 6" below the height of the overflow hole, and run the hose a short distance diagonally into that section of downspout. Probably depends if I can secure that section of downspout near its top because the house exterior is brick in that location.

I'll take some pics today so y'all can see what I'm talking about.

(Come to think of it, I won't return that flange because it will be needed to connect the overflow hose. I can use the hole I cut for the inflow to install it.)
 
The more I think about it the more I like @bud16415 's idea. I just need to modify my hose bib setup. I might need to buy a couple 45˚ elbows and a short (3" or so) length of pipe, and install these in the barrel and then the hose bib at the end of that so it can still be out front of the barrel and positioned in a normal way, with outflow facing down and the handle on top.
 
OK, pictures!

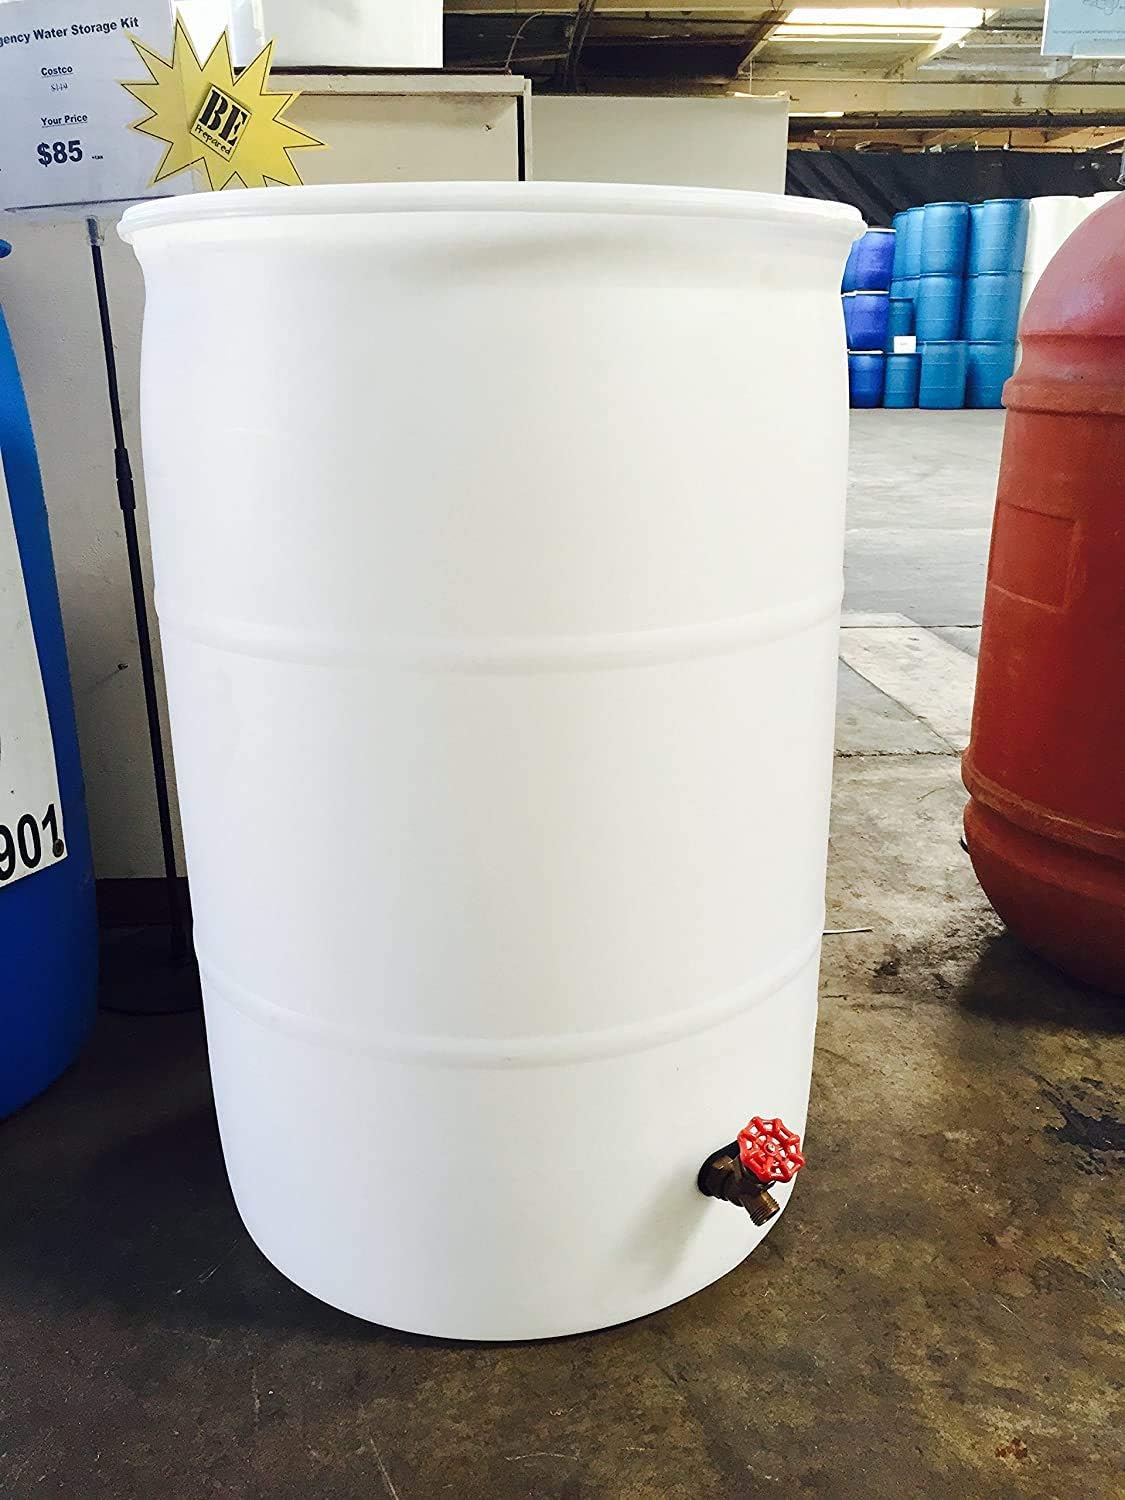
Here's the general setup, with the barrel flipped "upside down":
0526211206-02.jpg

Here's what's behind there now:
0526211159-02.jpg

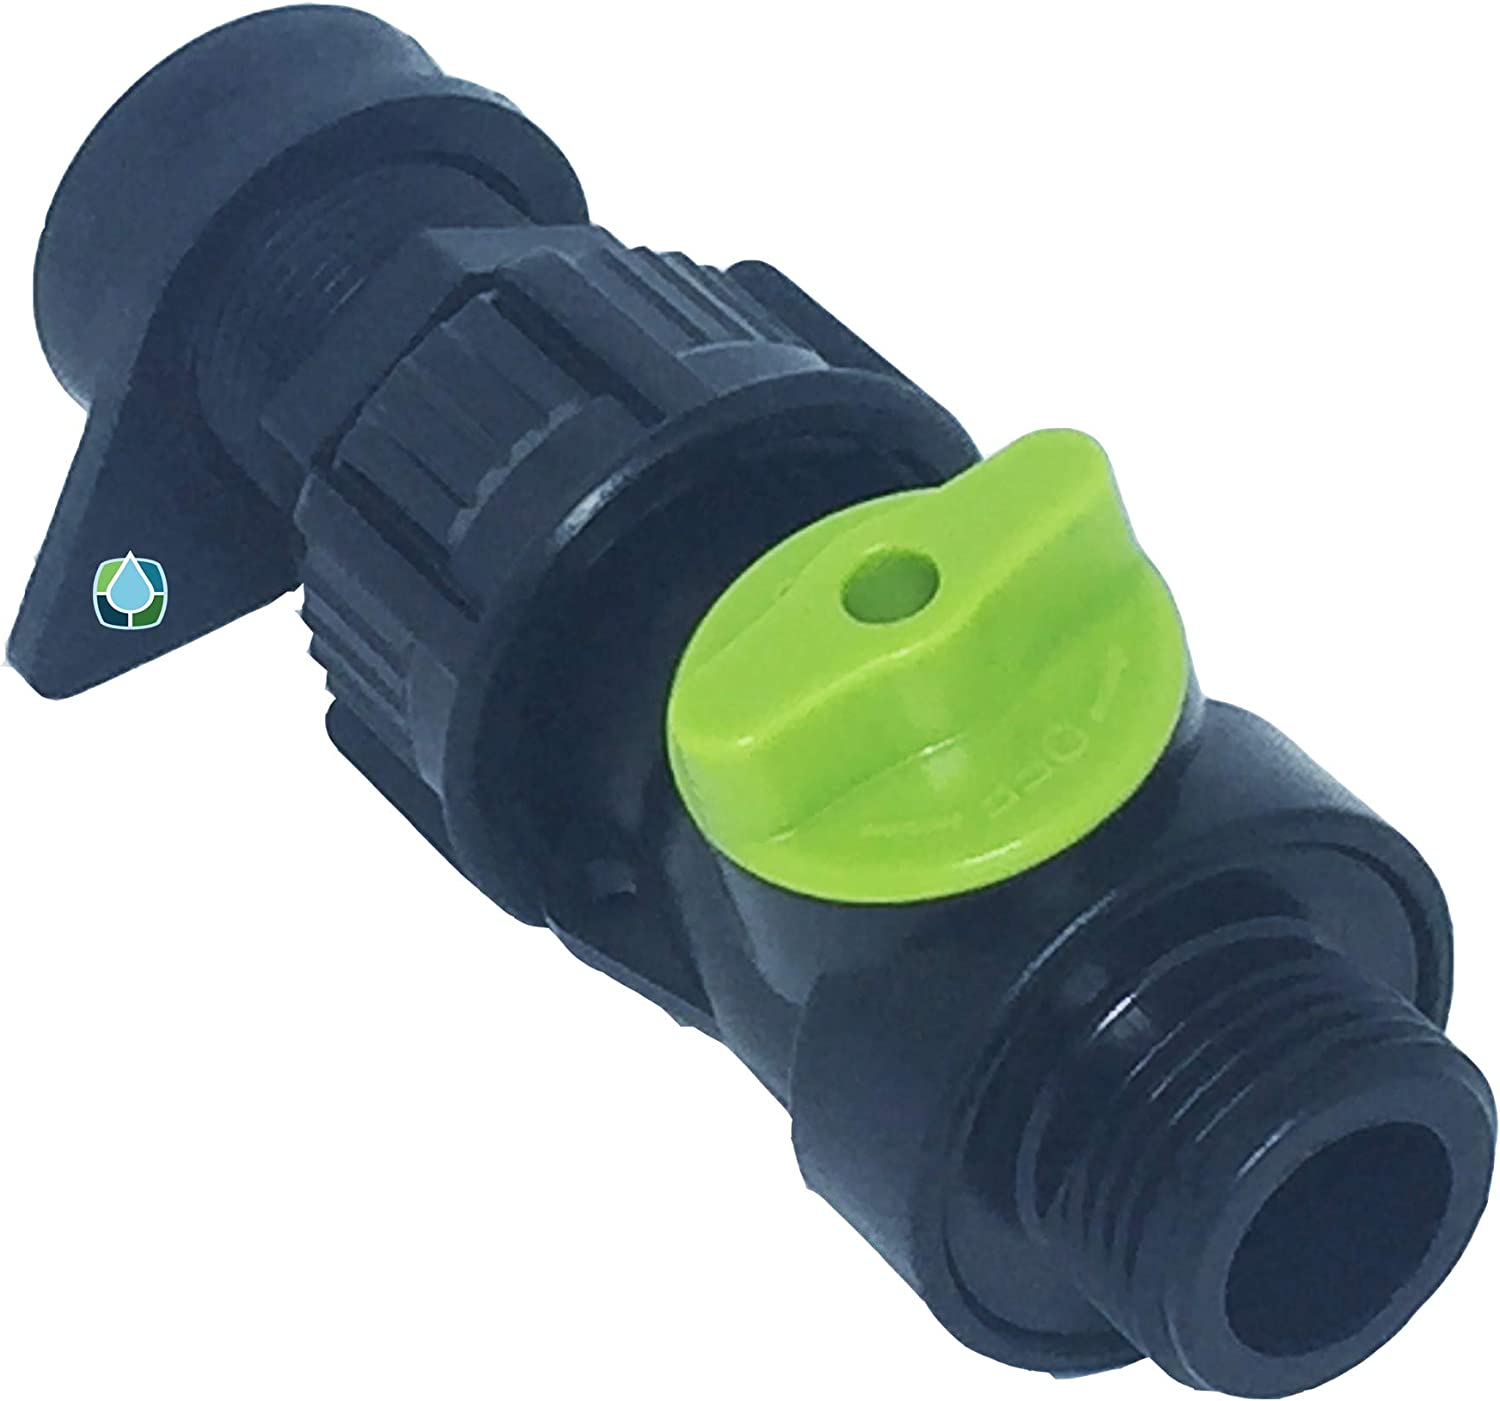
Here's the gap where I would attach the spigot:
0526211206-00.jpg

So it would emerge upside-down, sort of. Thus why I thought maybe a 45˚ elbow, a short length of pipe, then another 45˚ elbow to bring it level again, and attach the spigot on the end of that:
Sorry for my crappy art. That's supposed to be a short pipe/elbow/hose bib, not a rude defacement.

One issue I've noticed is that the hole-end of the barrel has sort of a convexity to it, so it doesn't quite sit level:
0526211206-03.jpg

In the above picture you can even see the gap between the barrel and the blocks caused by the curve of the barrel-end. Hopefully that resolves when the barrel is full...if not then I'm not sure this solution will work.

As for overflow, I sketched up what I had in mind:
Screen Shot 2021-05-26 at 12.33.15.png
The rough red line to the left represents the brick wall; the blue represents a short length of hose, connected to the barrel through the flange (small white rectangle). The vertical gray rectangles next to the brick wall represent the downspout. You can see I would remove just a small section in the middle, rather than everything below the downspout elbows -- if I can secure the top of that lower section.
 
I would do it all with PVC and (2) 45s would work but I would just use one 90.

With the tap on the bottom like that in the fall you just leave it open and you wont have to worry about it freezing up. The screen is a good idea one up at the gutter and a finer one over the opening that's easy to clean.
 
Yup, this'll be my fourth rain barrel, just the first one I've made out of one of these drums.
 
I wonder if something like this would work;

 
@Eddie_T Just looking at the thumbnail of the video, if the threaded end to the left is connected to the bottom of the barrel, then the handle is angled slightly downward toward the ground, and the threaded end on the right, where the water comes out, is actually angled inward back toward the blocks.

If I put a 45˚ or 90˚ elbow between the barrel and spigot that would fix the problem, provided it left enough room to comfortably turn the handle.

Since @bud16415 recommended PVC it means a ball valve spigot is affordable, so I might use that instead.
 
@Eddie_T

I paid $7.50 for each barrel, about $10 for the hardware, so if those are selling for less than about $20 somewhere near me let me know!

But also why is the spigot so high up? Seems like it leaves about 4" of inaccessible water in the bottom, though maybe that's the "muck collection" area...
 
Last edited:
Prolly for muck collection, that was just an amazon illustration for the spigot installed. Amazon has a ¼ turn ball shut-off as well. Or you can just purchase the threaded seals.
613UWTqh4lL._AC_SL1500_.jpg
 
Last edited:
Back
Top