princess bathroom remodel.

House Repair Talk

Help Support House Repair Talk:

This site may earn a commission from merchant affiliate links, including eBay, Amazon, and others.
Wow! That bathroom is huge! Its larger than my brother's bedroom!

I'm not a fan of vessel sinks either, but its very sweet of you to do that for your daughter. I hope she realizes and appreciates how lucky she is.

Dumb question: What is the T in your picture? Have you marked where you plan to put the electrical outlets? I know there needs to be one near the vanity. Probably should be another at the "makeup station".

I got some free samples from the Onyx collection before. Nice sturdy stuff. Also very thick and I'm certain its very heavy. Looks like they've updated their website since I last visited.

RedGuard is for waterproofing and crack prevention. If I remember correctly, it goes on pinkish and turns red when it dries.

I've heard of other products that do the same thing-- such as UGL masonry waterproofing, Thoroseal, and Hydraflex.

Even if there will only be one seam, I don't think it would hurt to have some sort of waterproofing underneath and maybe a few inches up the wall. But I'm no expert on that, so I will have to defer to the pros.

I'd love to see more pictures of the process as well as of the pieces you plan to incorporate in the room.

I hope everything goes smoothly for you!


It sure doesn't seem that large to me. I don't know I guess. adding that 2 feet to it will make it seem a lot bigger I am sure.
as far as realizing how lucky she is, I can be a bit of a grouch some times so I guess she puts up with me so that is good. she seems more interested in her school activities and friends right now than helping me so tonight I was a bit more aggravated than I should have been. but she is a good girl and deserves whatever I can do to make her happy.

the t in the picture is the thermostat for the under tile heating. I was planning to do that initially and I used their room design tool to make the layout. I am no longer going to do the radiant heating do to the difficulties with supplying the dedicated circuit required. but the tool is useful for showing how the room will be set up.

I will look into the red guard. It is not supposed to be necessary with the onyx shower because it is solid surface with only the one seam which is sealed with silicone and then a corner piece fits on top of that to seal it even better. but on the outside around the front. there it would be useful.

right now I am doing drywall. My wife and I hung two of the 3 pieces that go on the ceiling tonight. the ceiling is very unlevel just like the floor. anyway I am very slow at drywall because I can only get my wife to help me for an hour two a night. she hates it worse than I do. tomorrow I will do the last ceiling piece and the shower base should be in at the lumber yard. I need it before I can finish the part behind the shower because the drywall has to be at least a 1/4 inch above the base and I have to verify the position of the drain before I can finish the step area. anyway I am making slow progress. this part is not going to go fast I am afraid.

I also have to stop on the 16th of october and do nothing for a week. I promised my daughter I would not do anything for a week before her all state vocal try-outs. she made it last year and very much wants to make it again this year. so I hope to have all the drywall done and the mudding and taping and sanding done by then. then on to tile. something else I have never done before. I have watched it done on tv and computer so I am sure I can do it, but there always has to be a first time.

anyway thanks for the encouragement. I am sure I am going to need it.
 
also as far as electrical outlets there is one by the sink which was there before and I added 2 over the new countertop. one on each side of the knee space. I also added a new outlet to the other side of the wall for the tv. you can see the layout kind of in the pictures before the drywall went up. of course none of the outlets or switches are in the boxes yet. that will happen after I finish the drywall.
 
It's a lot of work to do, for certain. At least your wife will help for even that long. I don't have anyone in my household that will help for more than 5 minutes-- and that is if I can even get them to help at all.

I don't know much about drywall, but I've seen where people use lumber that forms a T to hold things in place on ceilings. I don't know if that would help in your situation though.

I hope your daughter's vocal try-outs go well!
 
yeah I used the t braces to finish the ceiling. I like using a drywall jack normally, but fitting the jack into the room would have been difficult so I just used the t-braces. but I had to cut out for the lights, the furnace vents, and the blower fan as well as for the shower head so getting all those holes to line up and held in place until I could brace it with the t braces was about all my poor little wife could do. anyway I had a friend come over yesterday to help me seat the shower base and finish hanging the drywall so now I am just mudding and taping. I am going to have to cut a bit of the drywall out that I just hung because I just read the instructions for the shower bench this morning and it looks like I have to have it but up next to the studs with no dry wall also just like the base. so I have to get some more 2x4's monday and frame the bench then cut out the drywall and install the seat top. anyway I will take some more pictures later today. but we are moving along slowly but surely
 
ok. here are a few pictures. ignore the mud and tape job. yes I suck at it, but it will get better, I just have to sand a lot more than someone who knows what they are doing.


You aren't the only one who sucks at drywall. I think it is looking great!
 
I recently changed to the 20 minute set up mud, and use a slightly wet sponge to knock down the high spots before it is completely set. No sanding at all, and once you put on a few coats, a nice orange peel or knock down texture make it look great.
 
Your drywall looks fine. A lot better than the drywall my friend put up in his house-- well, my friend's father did most of it but I think the dude was high most of the time he was working because it came out terrible. LOL.

Its coming along nicely!

Is the shower on a platform that has to be stepped down from? Or is that entire platform going to be the size of the shower?

Havasu, thanks for that tip on the drywall mudding.
 
I may have to rename this thread. My daughter was just crowned homecoming queen. but I suppose her mother would complain if I named it queen bathroom remodel lol.

 
Congrats. That is a real honor!
 
Congratulations! She looks pretty happy. :)
Hopefully she'll be even happier with the new bathroom when its done.
 
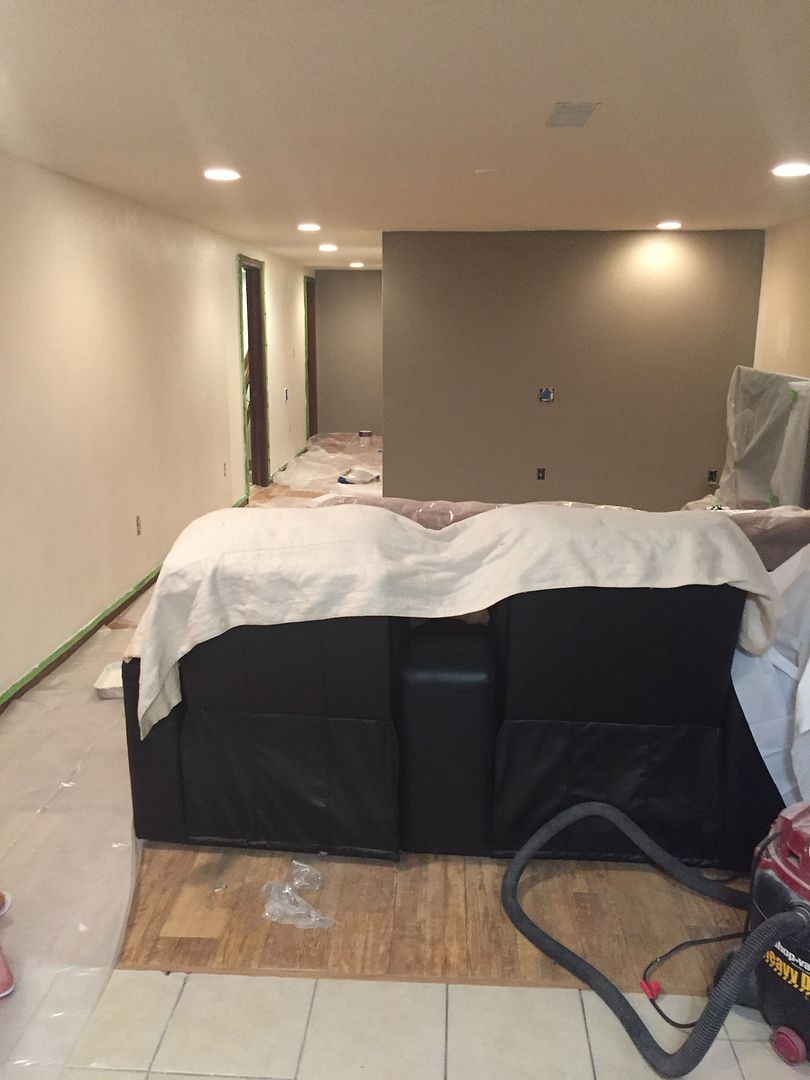
we decided that we needed to repaint the whole basement. the paint was ugly and scarred, and they both really liked how the taupe on the tv wall looked. so we started painting. we finished one side. we will have to move everything to the other side of the room and paint it once we put another coat on it. but it looks much better already.


I really like basements. I always wonder how the whole country has them except California.
 
we are right in tornado alley so a basement is even more important than just having the extra space.
 
no pictures but we finished painting the rest of the basement yesterday. today I put the baseboard back on and hung the tv on the wall. everything works. and it looks pretty good. the whole basement is going to need a major deep cleaning when this is done. but at least now the living room is back together. My oldest daughter is coming back from college this weekend so it will be nice to have that at least looking relatively normal. I am finding I have a lot less time than I thought I would on this project and this drywall stuff is taking a lot of time. so I am thinking I might talk to the guy who did the tile on my kitchen. apparently he is working for himself now, and is looking for more business so if the price is right I might see if I can get him to do the tile for me. I would like to do it myself for the experience. but I also really want to get this done, so depending on what the estimate is I may bail on the tile.
 
That is reasonable. Tiling is pretty straight forward but is very time consuming if you want it done correctly.
 
not much new. I did get the trim put back on and hung the tv. the living rooom is nearly done now, I am going to change all the outlets from the bone color to white. I just do not like that bone color on outlets it always looks dirty to me lol. anyway the living room is functional again. I also textured the ceiling in the bathroom. I did a skip trowel texture. first time I have done that. I got called out about a quarter of the way into it and had to go to work for a couple hours, the guy on the video I watched stressed to always keep a wet edge so I was figuring it would be messed up. I don't know it looks pretty good to me. it still needs to dry a bit and I may sand it lightly to reduce the texture a bit but overall I am pleased. here is a picture of the living room now,
 

Latest posts

Back
Top