94 Mustang rejuvenation

House Repair Talk

Help Support House Repair Talk:

This site may earn a commission from merchant affiliate links, including eBay, Amazon, and others.

mustanggarage

Garageaholic
Joined
Nov 26, 2009
Messages
903
Reaction score
0
I decided to do a build thread. As the regulars on here know, this car belonged to my Dad. He recently decided to move to the nursing home and so I bought his cars from him. this is a pretty low mileage convertible only 78,000 miles on it, it runs great. there is no real problems with it. but I can't just leave things alone. I have 3 other mustangs, a 65, an 89, and my Dad's 94 coupe. Both my 65 and my 89 I have built up as hot rods and my dads coupe is as well. So this car I want to keep the drivetrain pretty much stock so this may be a boring thread for most of you. but I like to keep track of what I do on my cars and this seems to be the best way. So without further adieu, the slow whitey thread begins.

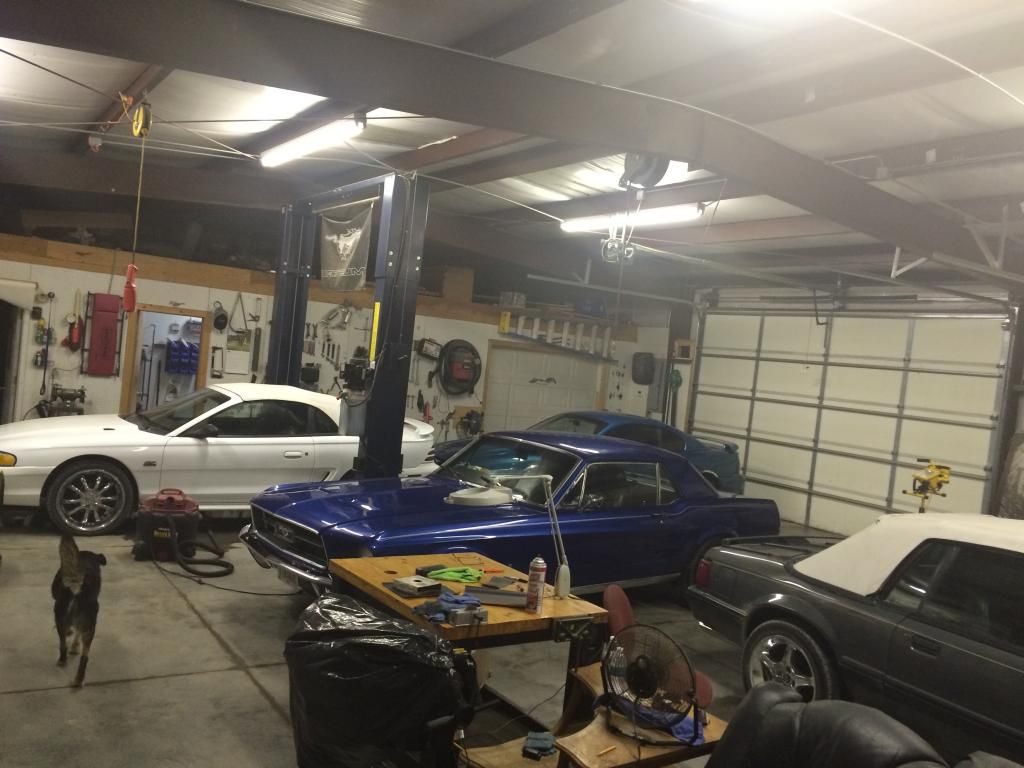
ok here is what it looked like when Dad got it. This is not the best picture, because it was Dad's car, and I was just taking a picture of my garage stuffed with mustangs lol.


so after Dad got it we put new brakes on it, and Dad drove it that way off and on until this year. He decided he wanted to put some stripes on it. so he ordered a stripe kit and I put it on for him.


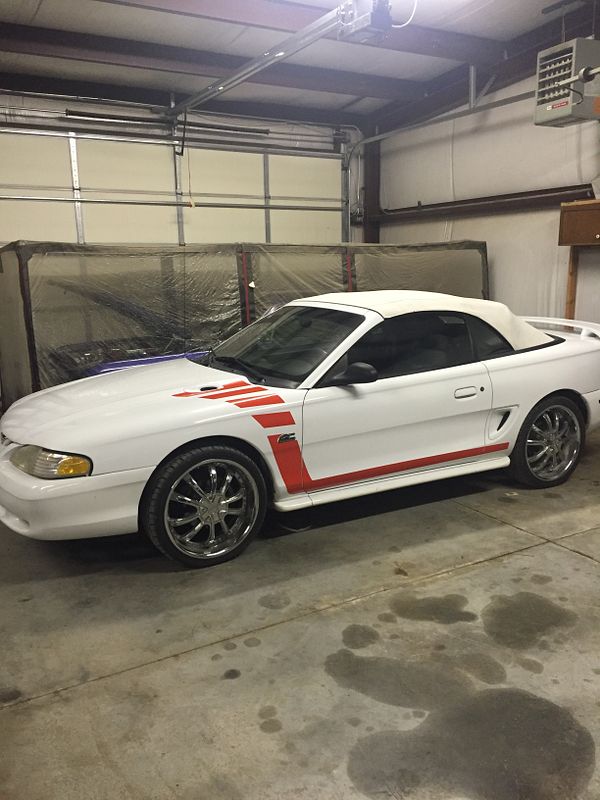
Then he had another really bad episode of congestive heart failure and wound up in the hospital and from there to the nursing home. he never drove it. Anyway after I bought it from him I wanted to drive it. I had never liked the wheels that were on it, and the front drivers side had been damaged and it had a slow persistent leak so the first thing I did was to get a new set of wheels and tires for it.


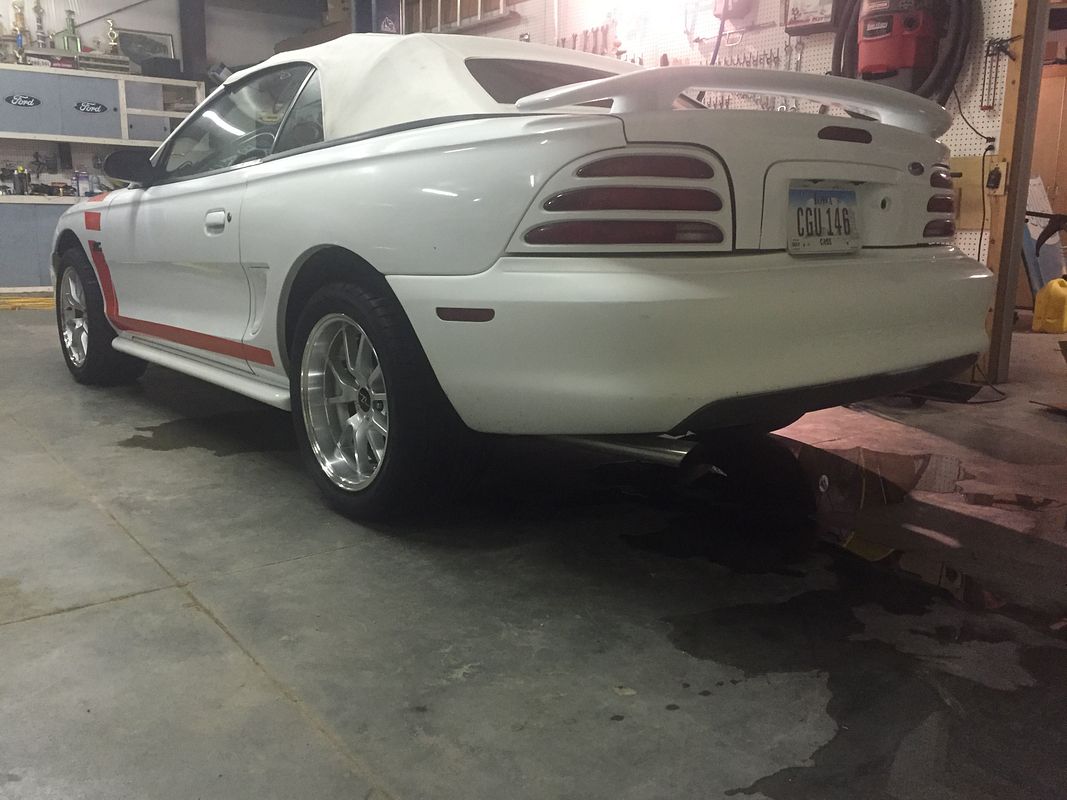
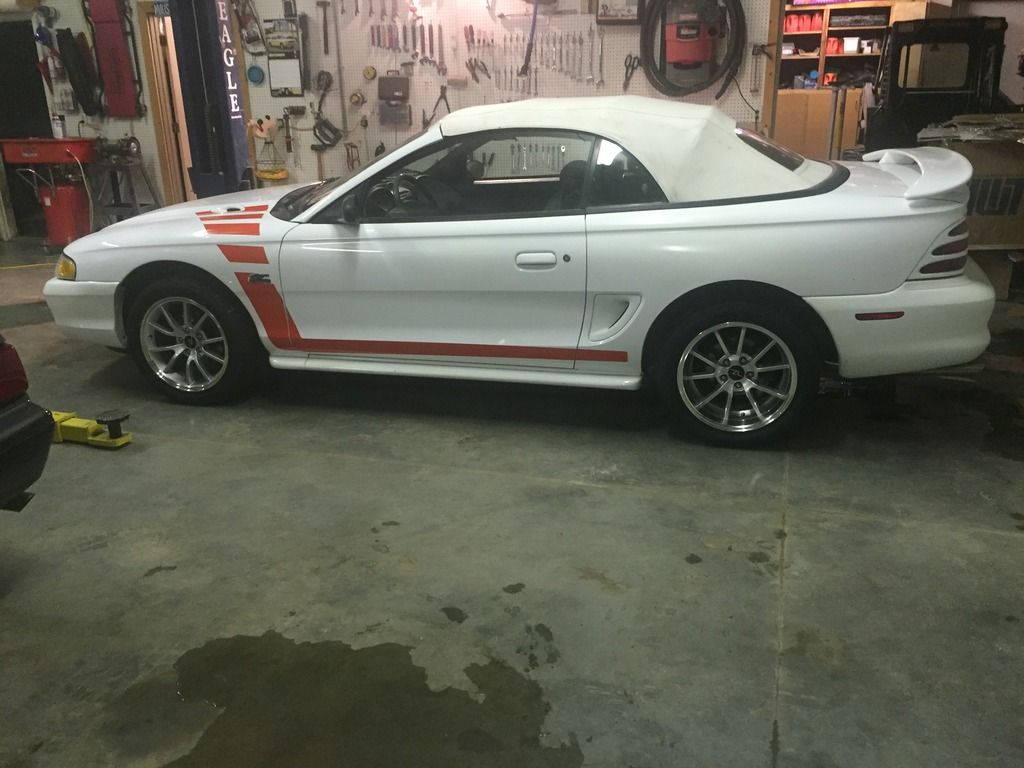
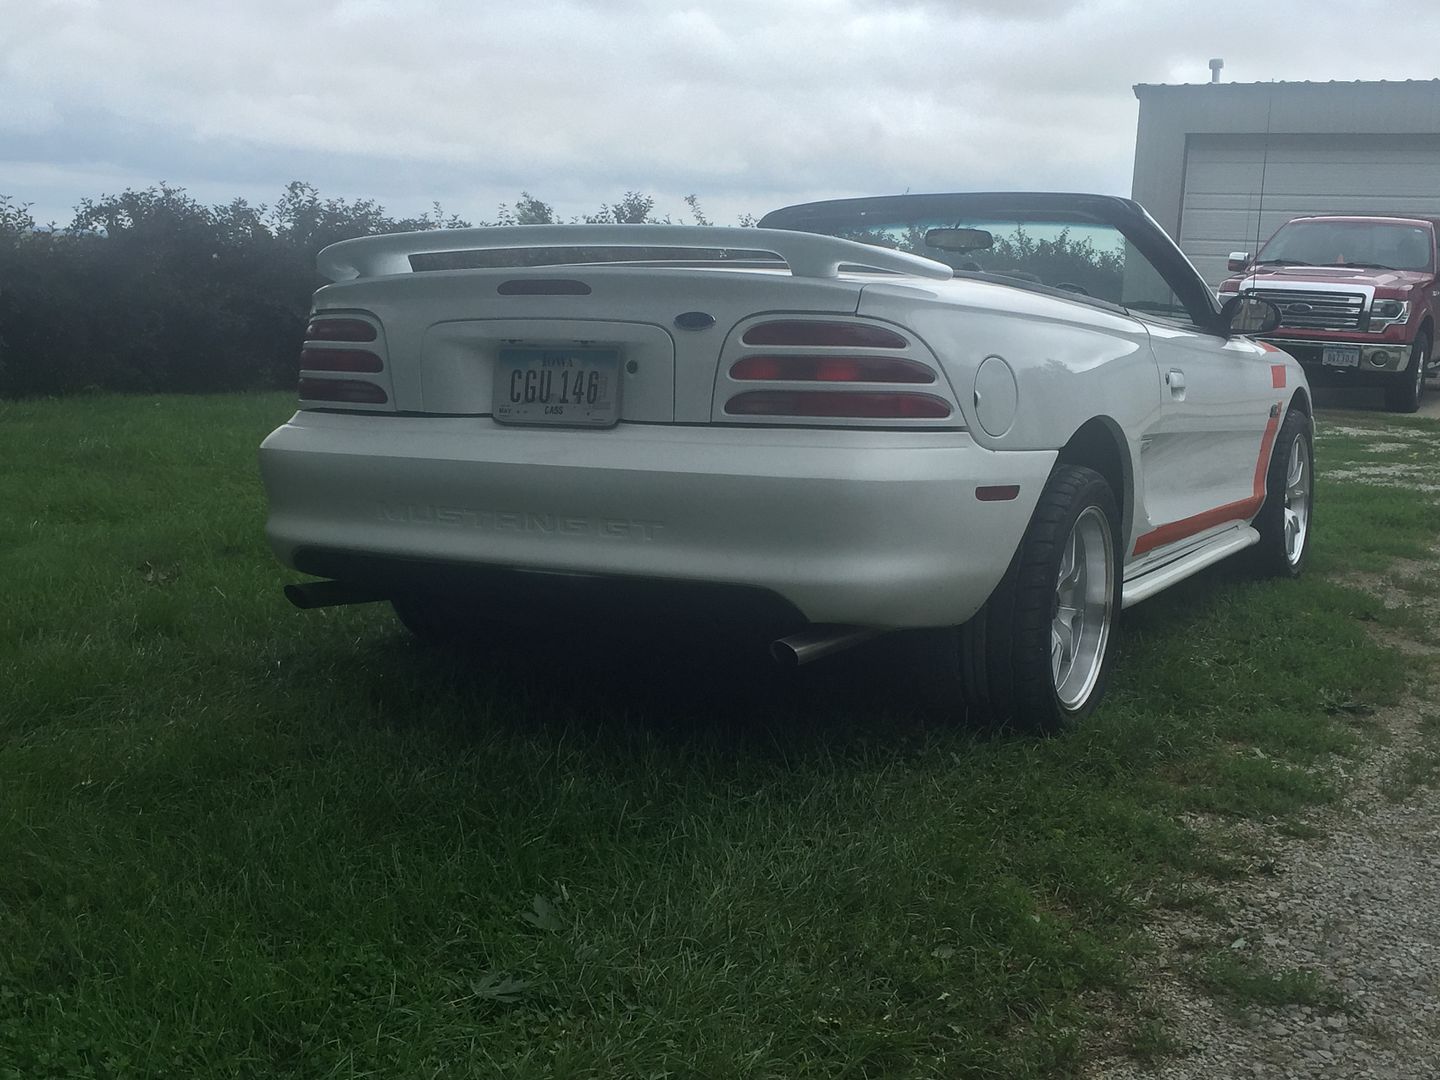
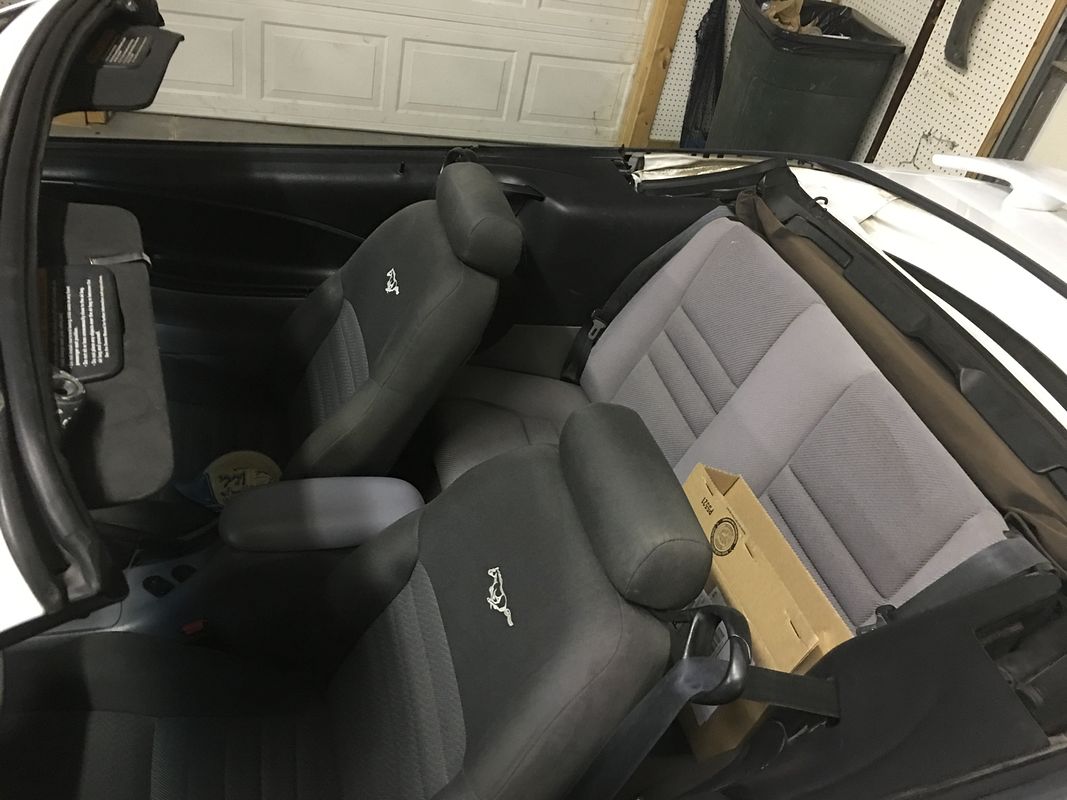
that made the car look really nice in my opinion. the stripes were supposed to be red. they turned out more of an orange, but they still look good and I have had a lot of compliments on the car since I started driving it. so from there I did a few little things. I cleaned the carpet of all the stains and put some gt floor mats in there to make the interior look nicer. someone has replaced the front seats at some time in the past and they do not match the back seats so that is something I am going to have to address at some point. it doesn't look as bad in person as it does in the picture, but it is bad enough.


I also spent some time with some convertible top cleaner and managed to make the top look relatively presentable.

 
So after that, I am more of a mechanical guy than a paint and body guy so I started checking out the mechanicals. Dad and I had replaced the brakes when he got it so they were good, I really need some subframe connectors, man this thing flexes and creaks way too much for my taste. also the engine compartment was a mess. I hate a dirty engine, and I hate rust, so I took a couple cans of engine degreaser and a pressure washer. a wire brush, etc. then I painted some parts, and removed, polished painted and cleared the intake manifold cover and overall I am not ashamed to open the hood now.


then when I was driving it I kept getting distracted by the instruments. I also hate it when dirt and grime gets in behind the lens and you can't clean it. also the gauge lens was pretty scratched.


so I took it apart intending to clean and polish the lens.


but I have always preferred white face gauges and I found a nice gauge overlay kit from american muscle. I prefer a simpler less colorful gauge kit, but this will do.

then my wife painted the needles with traffic cone orange fingernail polish lol and I put a new lens on.


it is a bit dusty on the outside in that picture, because my hands were dirty of course, but it cleans up nice.

then I had to figure out the wiring instructions. it is actually simple, but I misread the instructions. they said to tap into the large grey wire in the middle of the switch connector that is the switch on hot wire.


in my car that wire is brown and it is the same gauge as all the other wires except the constant hot feed wire, and I misunderstood the directions at first. I read key on hot wire not switch on hot wire so it took me a while to figure it out, but that brown wire is the correct switch on hot wire and I ran the ground to a chassis ground.


and there you have it.
 
Nice job......
 
I sure wish you were my neighbor.
 
I appreciate it guys. I went ahead and ordered some subframe connectors for it today. these convertibles all need some strengthening in the undercarriage.
 
What is a subframe connector? Are those a unibody?
 
yes mustangs are unibody. and so there is a lot of body flex especially in convertibles. the sn95 is better than the foxbody was, but the subframe connectors are very helpful in preventing body twist, and improving handling.
 
I got my subframe connectors in the other day, but I have not gotten the car up on the lift to work on them yet. I am still working on some things to make the engine compartment look a little better. I plan to pull the intake and swap valve covers and plugs, wires and cap and rotor as well as hopefully swap the fuel filter when I get time. the 94-95 mustang is kind of odd for mustangs. it has the old school 5.0 pushrod engine. they changed to the 4.6 in 96. so it shares a lot of parts with the fox body mustangs. the intake manifold however is a 94-95 only model and leaves very little clearance for the valve covers. finding an aftermarket valve cover that fits is basically impossible. you can use a fox body valve cover but the oil filler tube needs to be extended to get the cap on. so it is really hard to find a good looking solution for the valve cover. so I decided to play around with my eastwood powder coater to see what i could come up with. I did not want to pull the old valve covers off and ruin them if I did not like the result so I bought a nice used set from prestige mustang parts.


spent a lot of time with paint stripper, wire brushes and my blast cabinet.


then powdercoated them in a metallic red.


I think they will look good, I will have to see if they clash to bad with the other colors.
 
Those look great, I really need to look into that powder coating set up. Do you have an oven in your garage for this or how do you do it?
 
yeah I bought that first kit you showed. it had several colors etc. the stainless steel wire and the high temp tape as well as the plugs and the book are useful. but I didn't like most of the colors so I ended up buying several other colors over the years. I bought one of those dual voltage guns a few years ago and didn't like it so I went back to my old one and it works great. I just bought a new used oven the other day for 50 bucks from someone on swap here in town. I had an old oven that a friend gave me but I broke the leveling leg on the front and ripped the handle off the door, so I finally after about 7 years broke down and bought one for 50 bucks. it doesn't need to be fancy just any old oven that will get to 400 degrees. the key is just like in painting getting the thing down to bare metal, then bake it in the oven for a while to burn off any residual oils etc. clean it good with PRE from eastwood and a red scotch bright, put it back in the oven to get it warm then spray on the powder bake it again for at least 20 minutes and done.
 
I have never tried harbor freight powder I just always buy mine from eastwood. really it is not expensive. one of those small plastic jars full of powder is less than 15 dollars. I did both these valve covers, and the coil mounting bracket, and i still have about half the jar left, so the cost of the powder is really negligable. I mean a can of engine paint goes for around 10 bucks.
 
OK, sounds good to me. I think I will pick up the kit. I always wanted to do that instead of painting parts. How does the powder coat hold up compared to how the pros do it?
 
Instead of buying the kit I am piecing it together to get more of what I want. I can't find extra bottles sold by themselves. Are they same bottle that the powder comes in or do I need several bottles?
 
Found one thing I don't like about their site. Went to figure out shipping and I got this message.

In order to provide you with the most competitive rates, our agents are researching shipping options.
Please proceed to checkout to complete your order. After your order is placed, we'll contact you with your personalized quote.

huh, I have never seen that before odd.
 
I found a code online for free shipping, we will see if it works or if they call me. I ordered a bunch of stuff but could not get the PRE since I live in California and we can not have chemicals that work here. Only ones made from granola and bee's wax. I ordered Ford Blue, Black, Chrome and silver. Probably won't get to play with it until I settle in at the new house and hook up an oven but at least I will have it waiting for me.
 
Back
Top