welcome to the doghouse

House Repair Talk

Help Support House Repair Talk:

This site may earn a commission from merchant affiliate links, including eBay, Amazon, and others.
thanks. yes it is getting pretty close to startup. I need to hook up the transmission lines, the lower radiator hose fill the fluids, put the exhaust crossover on and hook up the o2 sensors then swap the fuel pump and filter and it is ready to start.
 
gotta catch up to where I am at on the build. sohere is another episode of "dang it I know better than that" lol.

I got all the hoses on the engine and put the antifreeze in, and let it set for a while and... crap antifreeze running down the front of my engine. it was coming from the thermostat housing. I pulled the t-stat housing off again. this was a new housing I bought from summit if I remember correctly. anyway I had intended to check the mating surface before I put it on, but we got in a hurry. Dad put it on while I was working on pulling the sensors and stuff off the old engine. long story short there was a high spot on the new housing. I put it on a mirror and you could see right where it was leaking. so I put a sheet of 400 grit sandpaper on the mirror and rubbed the thermostat housing on the sandpaper until all the mating surfaces were shiny. then put a new gasket on with sealer on both sides of the gasket. again using my rubberband trick. then carefully reinstalled the housing. let it set for an hour, snug up the bolts some more, let it set over night and put the water in, pressurize it with Dads pressure tester and it seems to be working. what a pain. anyway no big deal just more fun in the garage lol.
 
one thing I try to do on my threads is to post my failures as well as my successes. I like to think someone may look at what I have done and use it to prevent them from making the same mistake. I feel if I just put up what I got right it is kind of dishonest in a way.

so having said that I had another setback today. I got the thermostat housing to stop leaking and thought everything was good, then I saw coolant under the car, frustratedx frustratedx frustratedx turns out I have two more problems first I had coolant leaking out of the evaporator hose on the firewall never saw that before, but I guess when I pressurized the system I exposed the problem. that will have to wait until I get the engine sorted out however.

the next problem is probably a lack of experience problem. I decided since I was spending so much money on this build that I would use ARP head studs instead of head bolts like I have always used before. well I found out a few things first of all it would be good to understand the instructions a bit better. I watched some videos on the studs and I thought I understood what they were saying and that I needed to use this arp ultra torque lubricant on the studs. so I bought that stuff and used it. I have always used head bolts before and never had a problem but apparently the threads on the studs are rolled and the holes in the block are cut so the bottom head studs had coolant seeping up them. I have never had that problem before.

now I have not even tried to start this engine yet so the only pressure on it was from the radiator tester and I kept it under 16 psi. so I know the head gaskets are still ok. so I did some research and it seems people have had good luck removing one stud at a time and sealing them with permatex ultra black.

so that is what I did. pulled the headers back off. I still haven't hooked up the h pipe so that was relatively easy, and since I used header studs it made that part much easier.

then having previously drained the radiator again, :mad: :mad: I pulled the back head stud. of course a bunch of coolant started coming out of the block but I had planned for that at least I had my shop vac that I put a piece of 3/8 tubing on the end and taped it with electrical tape to hold it in, it fit right down the hole perfectly and I was able to suck the coolant out with minimal mess.

then I used a bore cleaning brush and brake clean to scrub the threads thoroughly and vacuumed them again. then stuck a rag down the hole with an allen wrench to dry the threads. I did not use compressed air because that caused coolant to splash the first time I tried. then I coated the stud with ultra black, ran it down the hole, removed it recoated it with ultra black and put it back in. then torqued the nut down.

rinse and repeat on all the studs. left it set for 24 hours and refilled with water this time.

pressurized it for 3 hours at 16 psi no leaks from the studs just from the stupid heater core


I did accomplish a couple of things this week though. first I have spent a lot of money on this project so I was trying to cheap out and not do a couple things I knew I needed to, but a couple guys on modded mustangs set me straight. one guy sent me a calibrated maf senser that I installed. I was having some trouble getting my stupid cold air intake to fit, it has always fit kind of funky so I decided to do something about it. I had to cut the tubing a bit as it was too long so I put a hose clamp around it, cut it with a hack saw.


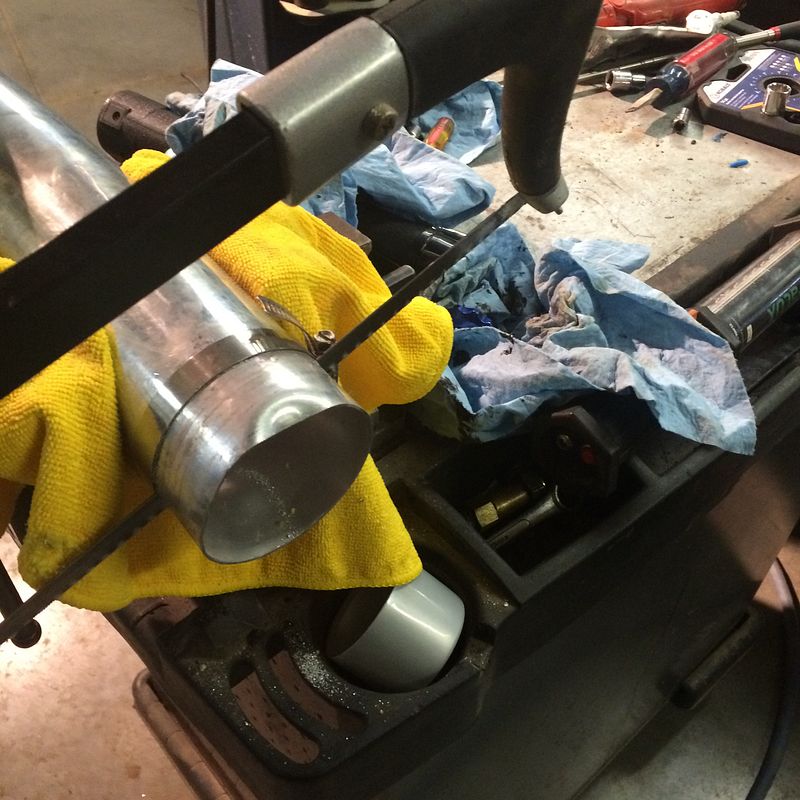
you can see how I bent the stupid thing trying to get it to go together. anyway after cutting a bit of the tubing off it fits much better.

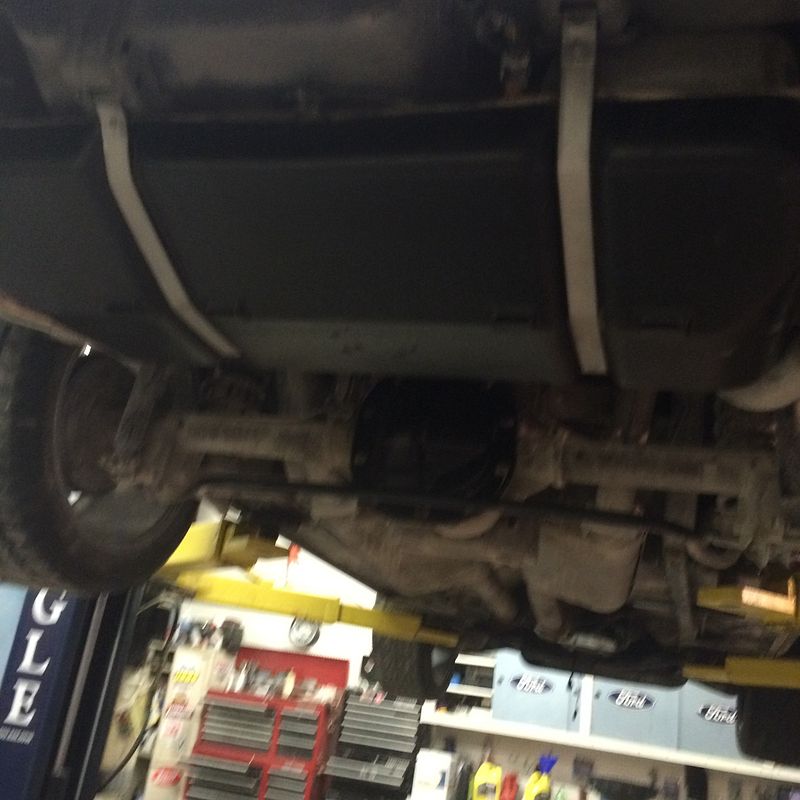
then I swapped to a 255 lph fuel pump. I decided to paint the tank insulator and straps while I had it out

I took several pictures of pulling the tank but there are some good videos on utube that describe it pretty well.


tomorrow Dad is coming over and we will put the exhaust on, put some fuel in the tank and maybe try and start the beast. then have to see all the other little things I have to fix facepalm1
 
one thing I try to do on my threads is to post my failures as well as my successes. I like to think someone may look at what I have done and use it to prevent them from making the same mistake. I feel if I just put up what I got right it is kind of dishonest in a way.

Making mistakes is how we learn, we've all been there before and understand that things don't always go the way we hoped and planned.

Thanks for the mirror trick, I'll file that one away for future use.
 
glad to hear I could help. I have learned so much from other people on different forums it is nice to occasionally help someone else out.

and...
Dad came over and helped me manhandle that stupid h pipe into place, man what a pain in the butt that was. once we got that in we connected the low oil pressure sensor and the O2 sensors, pulled the distributor spout jumper and it fired on the first try. we had to fiddle with the idle adjustment a bit, and it is still idling a bit fast but I will leave it that way until I can get it over to have it dyno tuned. that will have to wait a bit I had to spend some of the money that I had set aside for the dyno to get the fuel pump and the maf sensor. So i Will park it for a bit until I can get that done but basically it is done for now. I am excited to get it out and drive it, but I think I will wait until I get it dyno'd before I do that.


anyway here is a short video of it after we adjusted the idle.


put the hood back on, started it, adjusted the TPS and the IAC, thanks utube. then backed it out of the garage, and..... backed it back in the other side to my parking section of the shop, cleaned it up put the battery tender on it, and put the cover on it. now I will wait until I can get it over to the dyno shop. I am looking forward to a couple things there. first I have never seen a dyno tune session so hopefully they will let me watch. secondly I am looking forward to seeing how my new truck will pull that trailer.
 
crowned the 331 stroker install today. I got the last bit of bling to cover up that windshield wiper motor that was looking so ugly. UPR windshield wiper motor cover.


before


after


Very clean!...........
 
ok next installment on finding new ways to toss money down the abyss that is my mustang habit.

I really like the look of a sportbar in a convertible and I had been wanting to find one for a while. I found out that latemodel restoration sells them now, but on there website they say that you have to buy the 90-93 interior quarter panels in order to make it work. So I found a set on ebay. I ordered them and when I got them they were broken up and just generally a mess so I sent them back and found another set. so I bought those. in the mean time the bar arrived and I opened the instructions and found instructions for installation in an 89 mustang. so I decided I would go ahead and install them using the stock 89 quarters just to show it can be done. and then I will probably send the new ones back also.

first I had to repair my quarters. one of the mounting corners was broken. I saw that plastic staple repair system from eastwood on a recent episode of trucks and decided I could do something similar.


I took a piece of wire from my mig welder and positioned as above.

then I used my soldering gun and held heat on the wire until the wire melted into the plastic.


that is of course under the panel. on the top I used the soldering iron to melt the plastic and merge the two pieces. then I sanded the plastic down and coated it with jb weld. once it hardens I will sand it down and paint it.


after that I cut the template out of the instructions and carefully marked it on the panel and drilled a 1 3/4 inch hole.


then make a slit in the vinyl and peel it back.


then you are supposed to cut a 3/4 inch strip to the edge of the panel after removing the dew wipes. I found it needs to be a bit bigger. at the end you are supposed to put that piece back and glue the vinyl back down. I found that it was easier if I riveted a small piece of plastic to the removed piece to hold it in place.


next you have to remove a couple bolts from the inside of the vehicle just behind the door latch. position the bar and loosely tighten the new bolts in place.


then comes the hard part. position the panel around the sport bar and put the previosly removed piece back in place after tightening the anchor bolts on the sports bar.

then you have to put the new dew wipes back in place. that is difficult. but once I got it into position and replace all the screws. put the seats back in and this is the result.


no. I am having some issues with the transmission. it has a leak from the front end. I don't know what it is from but it looks like I am going to have to pull the transmission now. grrrrrrrrrr. oh well once it is done I will just have to find a new project so might as well have fun with this one a bit longer.
 
it seems that the trouble I had getting the torque converter lined up when I dropped the engine is what is now causing my transmission troubles. it seems AOD transmissions are notoriously fickle about getting the torque converter lined up, and with the stall converter I am using it agravated the problem. apparently if you don't coach the torque converter in instead of working it in like I did it causes the front seal to fail very quickly. so I am going to replace the front pump and seal. I considered several options. just swapping in a new monster or tci AOD, converting to a 4r70w, rebuilding this transmission or going all the way and swapping to manual. I decided since this trans was working fine before I did the swap I would just replace the front pump and seal and run it till it dies then either swap in a 5 speed or a new monster transmission. This way I should still be able to get the car dyno'd. I have it scheduled with the dyno shop for March 6th. I want to watch them do it so I need to do it on a weekend off and that will be my first weekend off after I get back from my conference in february. I should have all the stuff I need to get the car back together this weekend. I have the new torque converter, when the seal went out it really scuffed up the torque converter so I had to buy another new torque converter. but I am waiting on the new pump and the new block plate. I am going to put a second blockplate in place to give me a bit more space for the torque converter to move as it is it is just too tight.
 
well I finally got the new front seal, and I bought a new 2200 stall converter to go with it, and tonight I lifted it into place. I bought this little transmission jack off amazon for 110.00 and wow did that ever make the job easier.


it slid right in, no fuss no muss. I have about an 1/8 inch of play between the flex plate and torque converter and everything slipped together smoothly so I believe everything should work this time. I have used it for several things it helped to get the tank out for the fuel pump install. it also helps to hold the exhaust while we are lining it up. (I love cool tools). I will probably finish up getting everything hooked up on saturday. My Dad had to be out of town for a couple days and I know he is going to want to check it over and make sure I did it right lol so I will not tighten up the torque converter bolts yet. I will drop the pan tomorrow and put the new filter in. finish hooking everything up and set the tv valve so everything will be ready. I will also wait to put the starter back in so we can inspect the torque converter etc. seriously though that stupid starter is the hardest thing I have had to do on this car. is there a trick I am missing for putting those stupid starter bolts in and getting them out. that is a major pain in the butt lol.
 
It turns out the transmission had more problems than I thought. I found out as I was trying to get everything installed that I had a torrington bearing go out. I believe it was out before I put the new engine in. the car always was hard to push in neutral and it always made a screeching noise. I always had just put it off to the disk breaks. I don't know why but I never really thought about. when I pulled the front pump off to replace it, it had allowed some of the chunks to become displaced so when I tightened up the pump bolts nothing turned properly. so anyway pulled it back out. and tore it down. tonight I ordered a tci superstreet rebuild kit and I will be rebuilding it next week hopefully.
 
Back
Top